The first time I tried to recreate Pad Thai at home, I thought the dish would be a simple affair: stir‑fry, sauce, noodles, and voila. Instead, the kitchen erupted in a chaotic symphony of sizzling oil, splattering tamarind, and a cloud of garlic that seemed to mock my culinary ambition. I was left with a plate of bland, limp noodles that tasted like a forgotten grocery aisle. That disaster became my obsession, a mission to turn every element into a performance‑ready masterpiece.
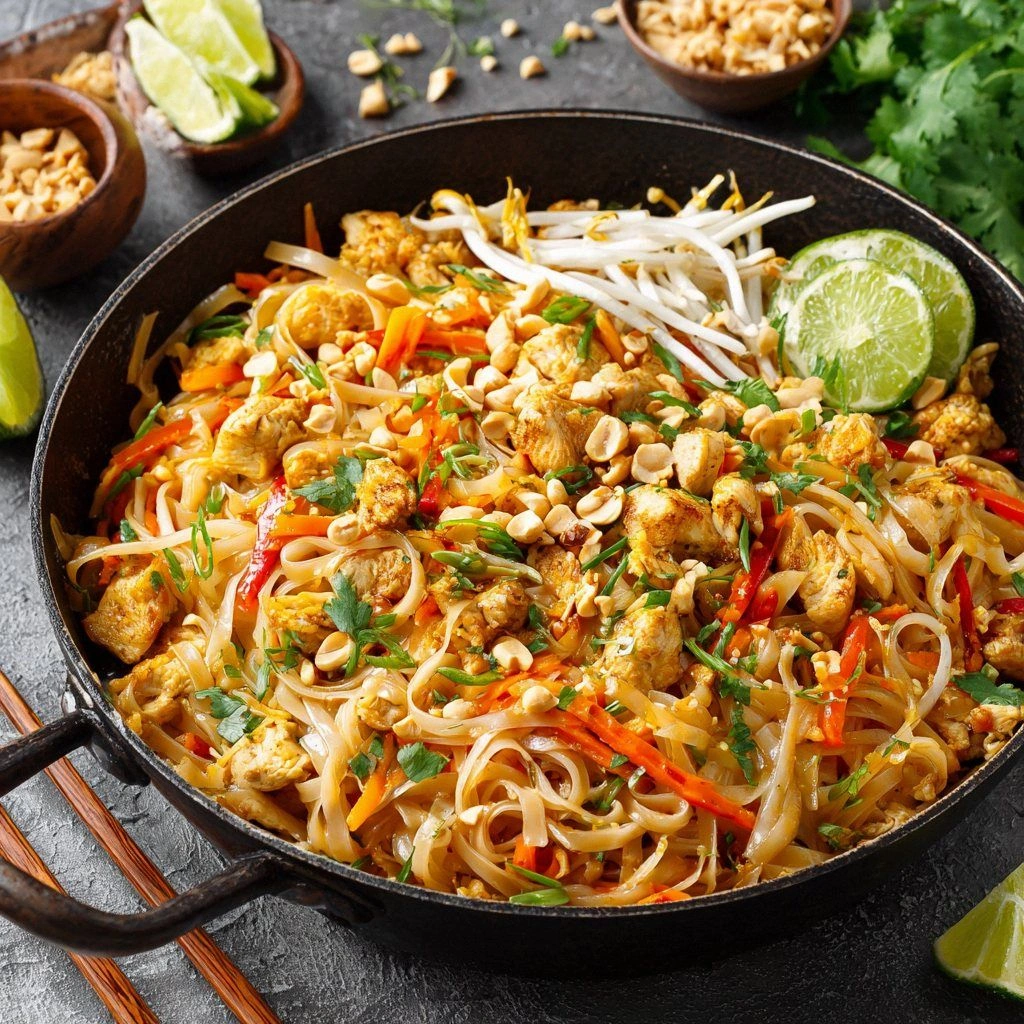
Picture this: the moment the noodles hit the hot pan, a crackling hiss that feels like applause. The aroma of freshly crushed garlic and caramelized shallots rises, mingling with the sharp tang of tamarind and the sweet whisper of palm sugar. The colors burst—deep reds from the chili flakes, emerald green from the bean sprouts, and the golden sheen of fresh eggs. The texture is a dance of chewy noodles, crunchy peanuts, and the crisp snap of fresh greens. It’s a symphony of flavors that makes your taste buds sing louder than a karaoke bar.
What makes this version stand out? I’ll be honest, I ate half the batch before anyone else had a chance to try it. The secret is a balance of sauce that coats like velvet, a sauce that’s neither too sweet nor too salty, and a technique that ensures the noodles stay al dente. I dare you to taste this and not go back for seconds—once you taste the perfect harmony, the ordinary will feel like a distant memory. I promise, this is hands down the best version you’ll ever make at home, and you’ll wonder how you ever cooked Pad Thai without it.
If you’ve ever struggled with the sticky texture or the overpowering fish sauce, you’re not alone. Most recipes get this completely wrong by adding too much sauce at once or overcooking the noodles. The trick is to let the sauce simmer until it thickens, then toss the noodles at the last minute to preserve that al dente bite. Picture yourself pulling this out of the pan, the whole kitchen smelling incredible, and every bite delivering a burst of umami that lingers on the palate. Stay with me here—this is worth it.
What Makes This Version Stand Out
- Taste: The sauce balances sweet, sour, salty, and umami in a single, harmonious note that sings with every bite.
- Texture: Al dente noodles, crisp veggies, and a crunchy peanut crunch create a layered mouthfeel that keeps you coming back.
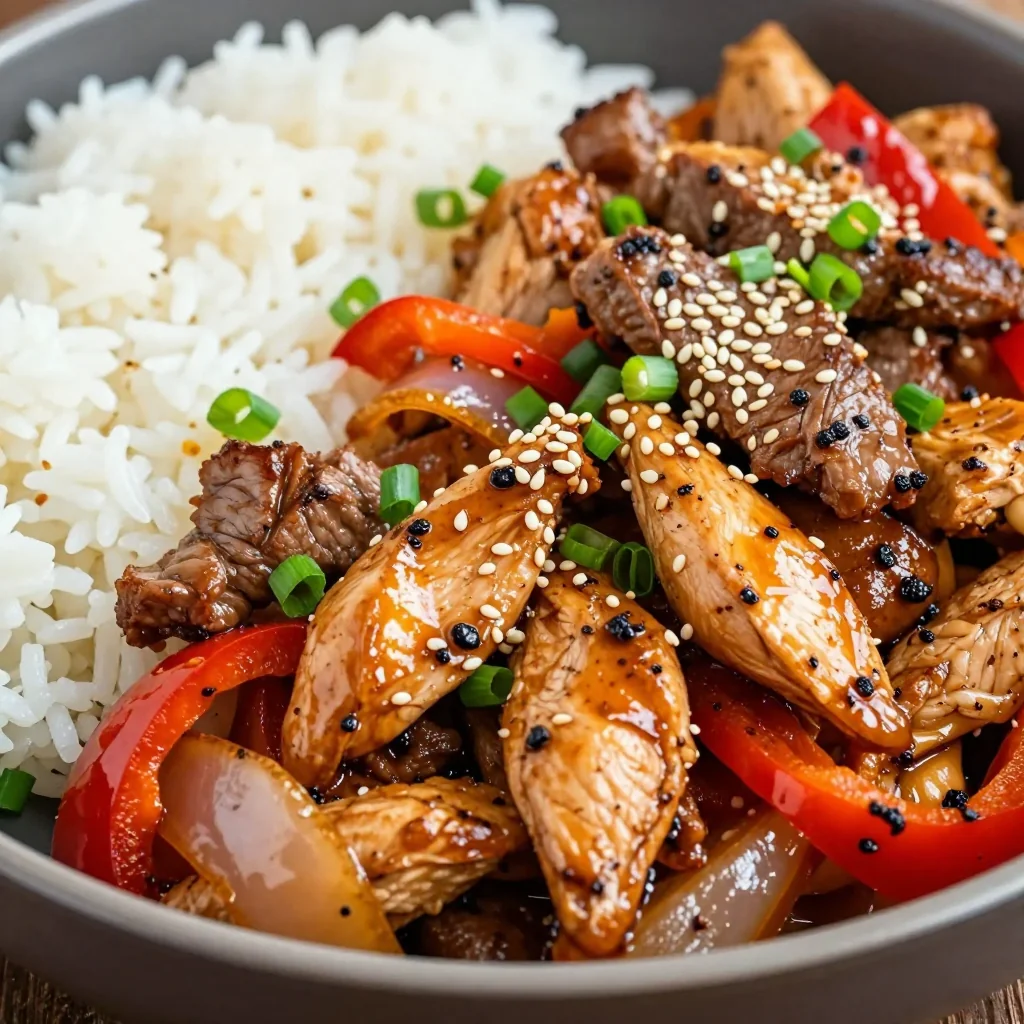
- Ingredient Quality: Fresh, high‑quality chicken breast and hand‑picked veggies elevate the dish beyond the grocery‑store version.
- Speed: The method is lightning fast—under 45 minutes from start to finish—making it perfect for a weekday dinner.
- Crowd‑pleaser: The balanced flavor profile works for both adventurous eaters and those who prefer a milder taste.
- Make‑Ahead: The dish can be prepared a few hours ahead; the flavors only deepen, and reheating is a breeze.
Alright, let’s break down exactly what goes into this masterpiece…
Inside the Ingredient List
The Flavor Base
The foundation of any great Pad Thai is its sauce, a carefully measured blend of tamarind paste, fish sauce, palm sugar, and a splash of lime juice. Tamarind gives the signature tang that cuts through the richness of the chicken and eggs. Fish sauce contributes depth and umami, but it’s easy to overdo—use just enough to taste. Palm sugar balances the acidity and adds a subtle caramel sweetness. A squeeze of lime brightens everything and brings a fresh citrus note that keeps the dish from feeling heavy.
If you’re missing tamarind paste, you can substitute with a mix of lime juice and a dash of vinegar, but the flavor will be less complex. For a slightly sweeter version, add a teaspoon of honey instead of palm sugar. Remember, the sauce should be thick enough to cling to the noodles but not so heavy that it clogs the pan. The right consistency is achieved by simmering the sauce over low heat until it reduces by about a third.
The Texture Crew
The texture of Pad Thai is a dance between silky noodles, crisp vegetables, and crunchy peanuts. Fresh flat rice noodles are the star; they should be soaked in warm water for 20 minutes before cooking to avoid a gummy bite. The bean sprouts and sliced carrots add a refreshing crunch, while the cabbage offers a subtle sweetness that balances the savory sauce. Crushed peanuts are toasted lightly to bring out their nutty aroma and add a satisfying crunch that contrasts the soft noodles.
If you’re craving a protein boost, consider adding tofu or shrimp. Tofu should be pressed and cubed, then pan‑fried until golden before adding to the stir‑fry. Shrimp can be added in the final minutes of cooking; they cook quickly and add a briny depth that complements the fish sauce. The key is to keep the vegetables fresh and the proteins tender, not overcooked.
The Unexpected Star
A pinch of chili flakes is the secret that gives this Pad Thai its subtle heat. Too much chili can overwhelm the delicate balance of flavors, so I recommend starting with a teaspoon and adjusting to taste. The green onions and cilantro add a bright, herbal finish that lifts the dish from ordinary to extraordinary. The lime wedges on the side allow diners to squeeze fresh juice into each bite, adding a personal touch to the flavor profile.
If you prefer a milder version, simply omit the chili flakes or use a mild pepper. Alternatively, add a splash of coconut milk for a creamier, tropical twist that pairs well with the tamarind’s tang. The possibilities are endless, but the core ingredients—noodles, chicken, eggs, and sauce—remain the backbone of this recipe.
The Final Flourish
The final flourish is a sprinkle of toasted sesame seeds and a drizzle of sesame oil. The seeds add a nutty aroma, while the sesame oil brings a silky finish that coats the noodles. The combination of these subtle touches transforms an already delicious dish into a memorable culinary experience. When you plate the Pad Thai, arrange the noodles in a fan‑shape and scatter the peanuts and cilantro on top for a visually stunning presentation.
Everything's prepped? Good. Let's get into the real action…
The Method — Step by Step
- Soak the Noodles: Place the flat rice noodles in a large bowl of warm water for 20 minutes. The noodles should be pliable but not mushy. Drain and set aside; this step prevents them from sticking together during the stir‑fry.
- Prepare the Sauce: In a small bowl, whisk together tamarind paste, fish sauce, palm sugar, lime juice, and a splash of water until the sugar dissolves. Set aside. This sauce will be added at the end to coat the noodles evenly.
- Marinate the Chicken: Slice the chicken breast into thin strips. Toss with a teaspoon of cornstarch, a pinch of salt, and a splash of soy sauce. Let it rest for 10 minutes; the cornstarch creates a protective coating that keeps the meat juicy.
- Cook the Eggs: Heat a tablespoon of oil in a wok or large skillet over medium‑high heat. Crack the eggs into the pan, scramble gently, and remove once cooked. The eggs should be fluffy and not dry. This step locks in moisture and adds protein.
- Stir‑Fry the Chicken: Add another tablespoon of oil to the pan, then toss in the marinated chicken. Stir‑fry for 3–4 minutes until the chicken is just cooked through. The chicken should be browned on the edges but still tender inside.
- Add Vegetables: Introduce the minced garlic, minced shallot, and chili flakes to the pan. Sauté for 30 seconds until fragrant. Then add the sliced carrots, cabbage, and bean sprouts. Stir‑fry for 2 minutes, keeping the vegetables crisp and bright.
- Combine All Elements: Return the cooked eggs to the pan. Toss in the soaked noodles, sauce, and a splash of water to help the sauce coat evenly. Stir vigorously for 1–2 minutes until the noodles are coated and heated through.
- Finish with Peanuts and Herbs: Sprinkle crushed peanuts, chopped green onions, and cilantro over the noodles. Give a final toss, then remove from heat. The dish should emit a savory aroma with a hint of citrus.
- Plate and Serve: Transfer the Pad Thai to a large serving platter. Garnish with lime wedges, extra peanuts, and a drizzle of sesame oil. Serve immediately while hot and fragrant.
That’s it—you did it. But hold on, I've got a few more tricks that'll take this to another level…
Insider Tricks for Flawless Results
The Temperature Rule Nobody Follows
Cooking Pad Thai at the right temperature is essential. A high heat ensures the chicken sears quickly, locking in juices, while the vegetables stay crisp. If the wok is too cool, the sauce will steam instead of caramelize, resulting in a soggy dish. I always pre‑heat the wok until it gives off a faint smoke before adding oil.
Why Your Nose Knows Best
Smell is your best judge of doneness. When the sauce thickens and the noodles emit a toasty aroma, you know it’s ready. The garlic and shallot should have a mellow, sweet scent, not a sharp, raw odor. Trust your nose; it will guide you to the perfect balance.
The 5‑Minute Rest That Changes Everything
After you finish cooking, let the Pad Thai rest for five minutes. This allows the flavors to meld and the noodles to absorb any remaining sauce. It also prevents the dish from becoming too wet when you plate it. Cover loosely with foil to keep it warm.
The Secret of Toasted Peanuts
Toast the peanuts in a dry skillet for 2–3 minutes until golden. This brings out a nutty aroma that enhances the overall flavor profile. If you prefer a milder taste, you can skip the toasting step, but the dish will lack that subtle depth.
The Right Balance of Sweetness
Palm sugar should dissolve completely before adding the sauce to the pan. If you add it too early, it can crystallize and give the dish an uneven texture. Use a small amount of warm water to dissolve the sugar, then whisk it into the sauce. This ensures a smooth, glossy finish.
Creative Twists and Variations
This recipe is a playground. Here are some of my favorite ways to switch things up:
Coconut Cream Pad Thai
Replace half the water in the sauce with coconut milk for a creamy, tropical twist. The coconut balances the tamarind’s tartness and adds a subtle sweetness that pairs beautifully with the peanuts.
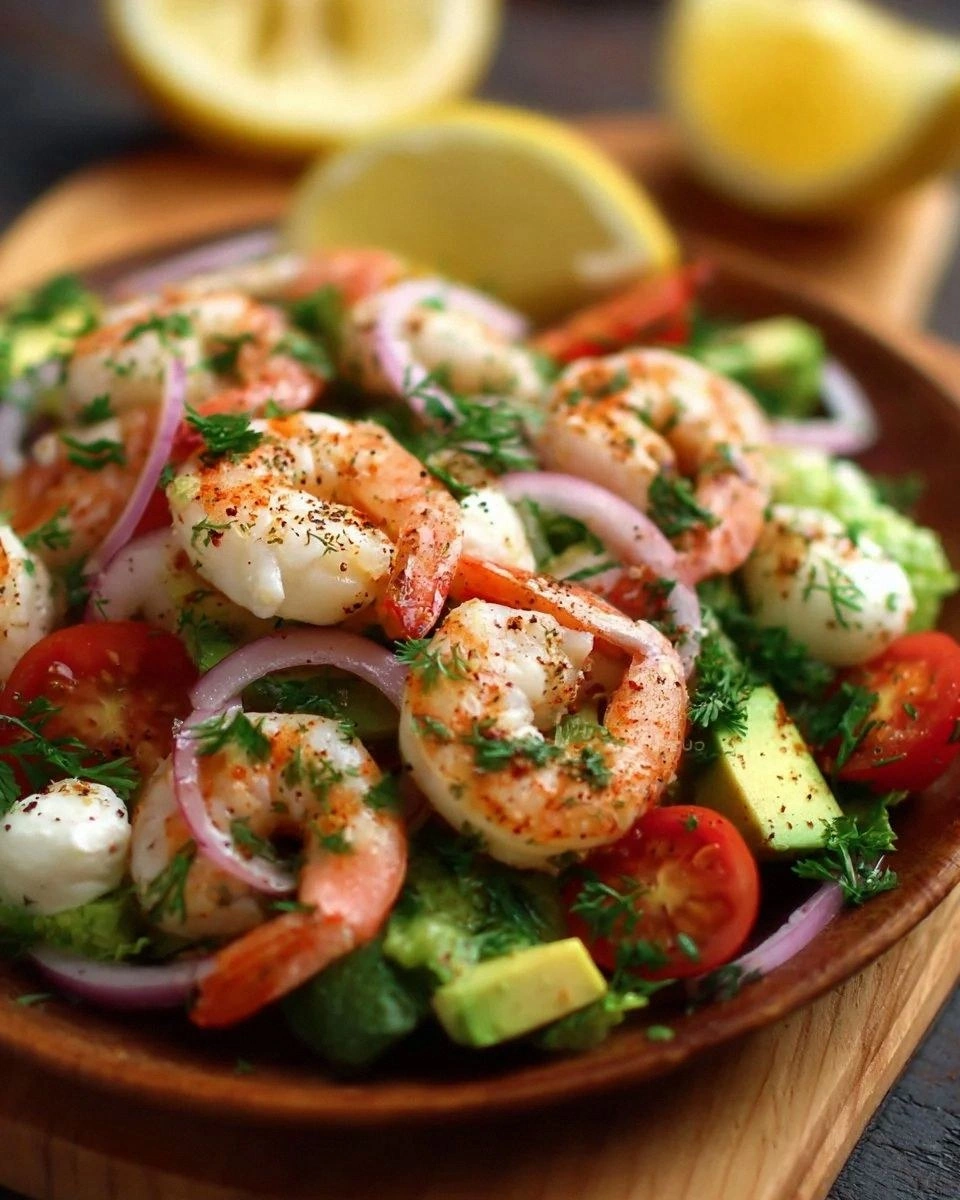
Shrimp & Pineapple Pad Thai
Swap the chicken for shrimp and add fresh pineapple chunks. The sweet, juicy pineapple complements the shrimp’s briny flavor, creating a dish that feels like a beach vacation.
Vegetarian Pad Thai
Omit the chicken and replace it with firm tofu or tempeh. Add extra veggies like bell peppers and mushrooms for a hearty, plant‑based version that still delivers the classic Pad Thai experience.
Spicy Sriracha Pad Thai
Stir in a tablespoon of Sriracha or Thai bird’s eye chili paste for an extra kick. The heat will mingle with the sweet and sour notes, creating a more complex flavor profile.
Gluten‑Free Pad Thai
Use rice noodles and a gluten‑free fish sauce to keep the dish safe for gluten‑sensitive diners. The flavors remain unchanged, proving that gluten isn’t necessary for a delicious Pad Thai.
Breakfast Pad Thai
Serve it with a side of fried eggs and a drizzle of sriracha for a savory breakfast that feels like a late‑night snack. The protein and spice make for a satisfying morning meal.
Storing and Bringing It Back to Life
Fridge Storage
Cool the Pad Thai completely before refrigerating. Store in an airtight container for up to 3 days. The noodles may absorb some moisture, but the sauce will keep them flavorful.
Freezer Friendly
Pack the Pad Thai in a freezer‑safe container, separating the sauce from the noodles if possible. Freeze for up to 2 months. Reheat on the stove, adding a splash of water to loosen the sauce.
Best Reheating Method
Reheat the dish in a wok or skillet over medium heat. Add a tablespoon of water or broth, stir, and cover for 2 minutes. The added liquid helps the noodles regain their al dente texture and prevents them from drying out.
Add a tiny splash of water before reheating — it steams back to perfection and restores the original mouthfeel.