I remember the night my friend dared me to make the ultimate Nando’s Peri‑Peri chicken at home. We were on a late‑night binge, the fridge was a sad collection of leftovers, and the kitchen lights flickered like a disco. I grabbed a bottle of that fiery sauce, flipped the recipe on my phone, and thought, “Sure, why not?” The result? A plate that made the entire apartment sing with heat, flavor, and a smoky aroma that had even the dog stop and sniff.
Picture this: a bright red bell pepper sliced into thin ribbons, its sweet scent mingling with the sharp sting of Bird’s Eye chilis. The garlic cloves are crushed, releasing their punch into a bubbling pot of olive oil, while the vinegar cuts through the richness like a razor. As the sauce simmers, the air fills with the intoxicating perfume of paprika, oregano, and rosemary, each herb dancing in the steam. When the chicken finally sizzles in the pan, its golden crust cracks open, revealing a tender interior that practically melts in your mouth.
What sets this version apart from every other Peri‑Peri recipe you’ll find online is the balance between heat and acidity, and the subtle umami that comes from the mayo base. I swear, this is hands down the best version you’ll ever make at home. I’ve tried countless variations, but none have matched the depth of flavor that comes from combining fresh herbs with a touch of sugar to balance the vinegar. The sauce coats the chicken like velvet, while the crispy edges shatter like thin ice when you bite into it.
There’s a twist you won’t expect: a splash of mayonnaise to give the sauce a silky texture, and a dash of lemon juice to brighten the dish. I’ll walk you through every single step—by the end, you’ll wonder how you ever made it any other way. I dare you to taste this and not go back for seconds. And if you’ve ever struggled with the perfect balance of heat and flavor, you’re not alone—this is the fix you’ve been looking for.
What Makes This Version Stand Out
- Flavor: The blend of fresh herbs and a subtle sweet note from sugar creates a complex taste profile that feels both fiery and comforting. The mayo adds a creamy undertone that makes the sauce cling to the chicken without overpowering the spices.
- Texture: The chicken develops a crisp exterior while staying juicy inside, thanks to the quick sear and the oil’s high smoke point. The bell pepper ribbons add a crunchy contrast that keeps each bite interesting.
- Simplicity: With just 14 ingredients, the recipe is straightforward yet sophisticated. No complicated steps—just chop, blend, and cook.
- Uniqueness: The addition of distilled white vinegar gives the sauce a bright, clean acidity that sets it apart from the usual tomato‑based Peri‑Peri.
- Crowd Reaction: Friends who’ve tried this rave about how it’s “like a party in your mouth.” It’s perfect for gatherings, and it scales easily for larger groups.
- Ingredient Quality: Fresh, high‑quality produce and olive oil make the difference. I always use organic herbs for a deeper flavor.
- Cooking Method: The technique of sautéing the aromatics before adding the sauce locks in flavors and ensures a silky finish.
- Make‑Ahead Potential: The sauce can be made a day ahead, allowing the flavors to meld even further.
Alright, let’s break down exactly what goes into this masterpiece…
Inside the Ingredient List
The Flavor Base
The 1/4 cup of distilled white vinegar is the secret sauce that cuts through the richness of the olive oil and the mayo, giving the dish that signature bright tang. Without it, the sauce would feel flat and overly oily. If you’re not a fan of vinegar, a splash of lime juice can provide a similar acidity, but it will change the overall profile slightly.
The Texture Crew
The 1 1/2 cups of olive oil do more than just sauté the aromatics; they help create a glossy, velvety sauce that clings to the chicken. The 1/4 cup of mayonnaise introduces a silky mouthfeel and acts as a binder, ensuring the sauce doesn’t separate during cooking. If you’re vegan, a tablespoon of tahini can replace mayo for a nutty twist.
The Unexpected Star
The 8 Bird’s Eye chilis bring the heat, but their heat level can vary. If you want a milder version, remove the seeds and membranes before chopping. For an extra kick, add a pinch of cayenne pepper or a splash of hot sauce at the end. This is the element that makes the dish “Nando’s” at its core.
The Final Flourish
Fresh parsley and lemon juice finish the sauce with a burst of freshness that balances the deep, smoky undertones. The parsley’s bright green color also makes the dish visually appealing. If you’re in a pinch, a handful of chopped cilantro can replace parsley for a slightly different herbaceous note.
Everything’s prepped? Good. Let’s get into the real action…
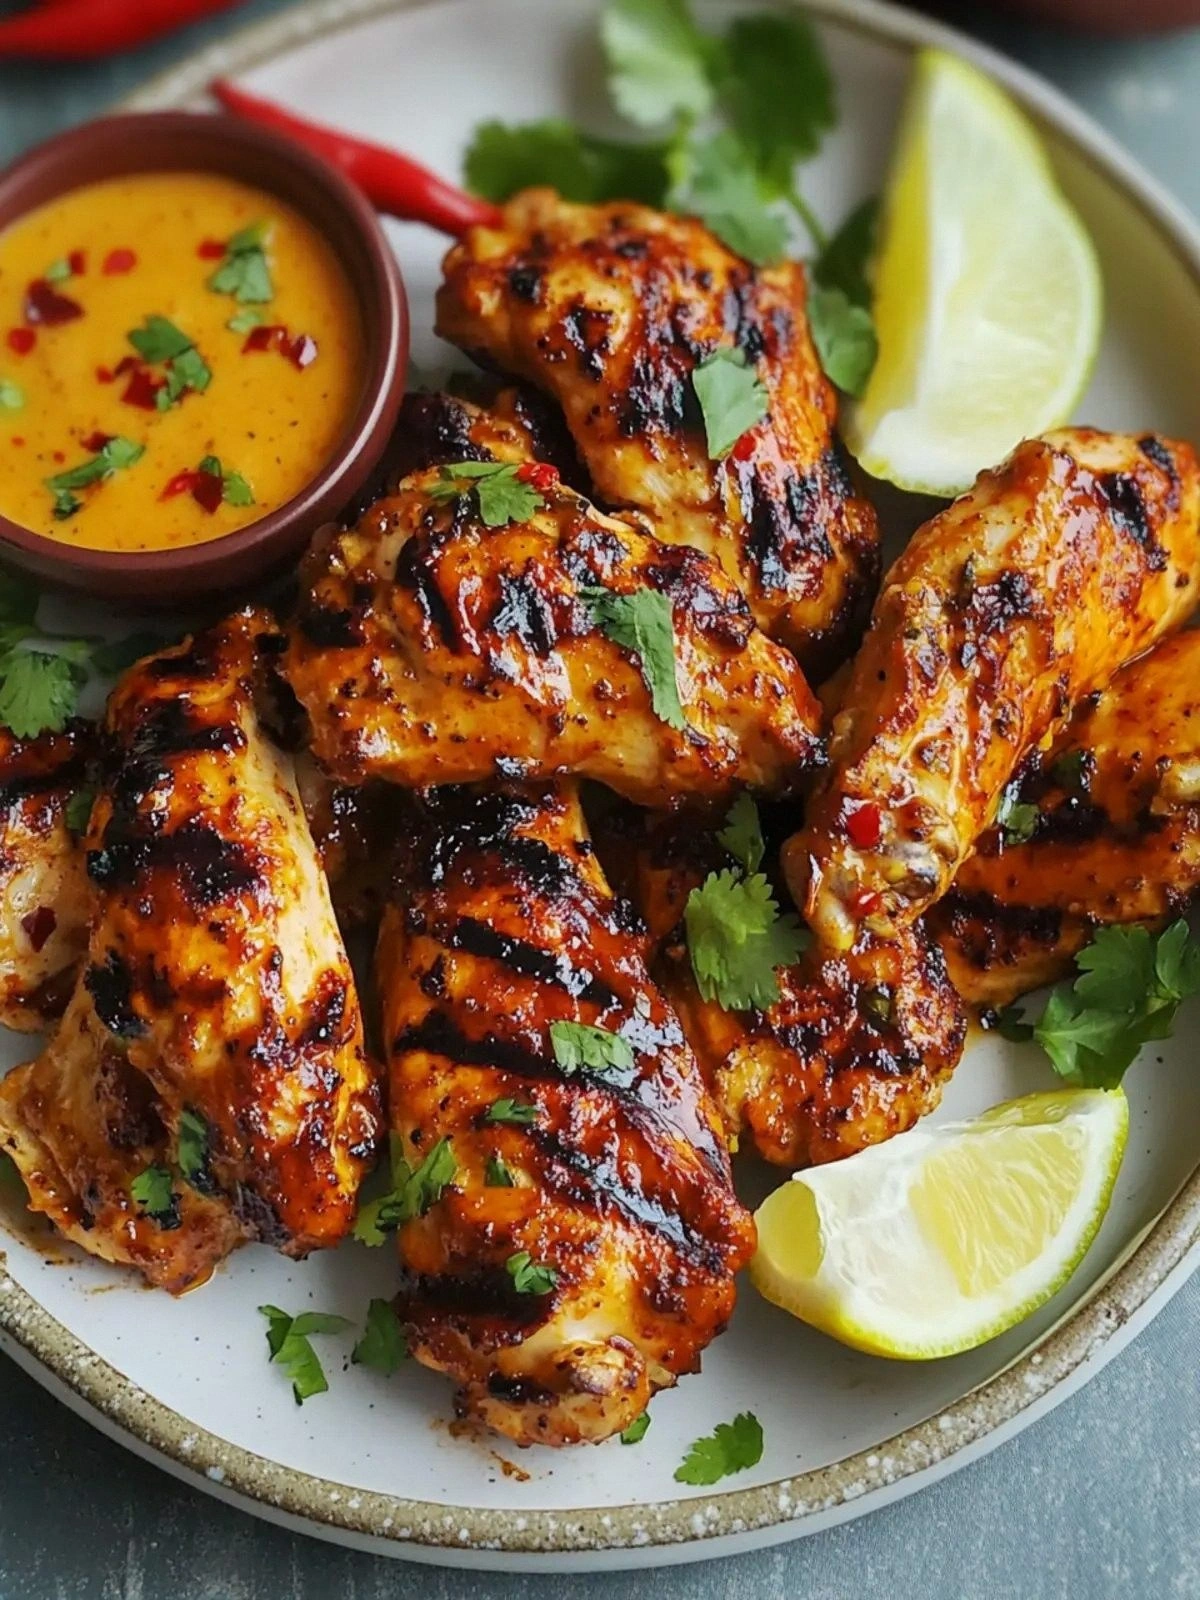
The Method — Step by Step
- Begin by cutting the red bell pepper into thin strips, setting them aside for later. In a medium bowl, combine the chilis, garlic cloves, and vinegar; let them rest while you prep the sauce. This resting period allows the flavors to meld, creating a more cohesive base.
- Heat the olive oil in a large skillet over medium‑high heat until shimmering. Add the chopped bell pepper strips and sauté for 2 minutes until they start to soften but remain crisp. The pepper should release a sweet aroma that signals it’s ready.
- Push the pepper to the side of the pan and pour in the chili‑garlic‑vinegar mixture. Let it cook for 3 minutes, stirring frequently so it doesn’t burn. The mixture should reduce slightly, concentrating the heat.
- Stir in the oregano, paprika, rosemary, salt, and sugar. These herbs and spices will infuse the sauce, giving it depth and balance. The sugar’s role is to offset the acidity of the vinegar, creating a harmonious flavor.
- Add the mayonnaise and stir until the sauce becomes glossy and thick. The mayo’s creamy texture will coat the chicken evenly when it’s added. If the sauce seems too thick, splash in a tablespoon of water or broth.
- Season the chicken breasts with a pinch of salt and pepper. Place them in the skillet, skin side down, and sear for 4 minutes until golden. Flip and cook for another 4 minutes; the chicken should reach an internal temperature of 165°F.
- Reduce the heat to low, pour the remaining sauce over the chicken, and let it simmer for 5 minutes. The sauce will thicken and coat the chicken like a silky glaze.
- Finish by adding the bay leaves, parsley, and lemon juice. Let the dish cook for an additional minute so the herbs release their aroma. Remove the bay leaves before serving.
- Serve immediately, plating the chicken with a generous drizzle of sauce and a side of steamed rice or a fresh salad. The dish should look vibrant, with bright green parsley and a glossy sheen.
That’s it—you did it. But hold on, I’ve got a few more tricks that will take this to another level…
Insider Tricks for Flawless Results
The Temperature Rule Nobody Follows
Many people cook chicken at a single high temperature, which can lead to a dry interior. The trick is to sear at high heat to get a crust, then lower the temperature for the final simmer. This keeps the inside juicy while the exterior stays crisp. I’ve seen people burn the sauce by keeping it too hot for too long; keep an eye on the steam.
Why Your Nose Knows Best
Before you taste the sauce, let it sit for a minute off the heat. The aromas will intensify, giving you a better sense of the balance. If the scent feels too sharp, let it rest longer or add a splash of water. Your nose is a better judge of acidity than your eyes.
The 5‑Minute Rest That Changes Everything
After the chicken is cooked, let it rest for 5 minutes before slicing. This allows the juices to redistribute, preventing a dry bite. I’ve tried cutting it immediately, and the result was a sad, dry mess. Letting it rest is a small step that pays huge dividends.
Use Fresh Herbs for a Brighter Finish
The parsley in this recipe is meant to be added at the very end. Fresh herbs release their oils when added last, giving a burst of color and flavor. Dried herbs can dull the sauce, so keep the parsley fresh.
The Perfect Oil Choice
Olive oil is essential, but choose a light or extra‑light variety for the best smoke point. Darker oils can impart a bitter note when heated too high. If you’re vegan, avocado oil works nicely as a neutral alternative.
Creative Twists and Variations
This recipe is a playground. Here are some of my favorite ways to switch things up:
The Smoky BBQ Version
Swap the vinegar for a smoky BBQ sauce and add a pinch of liquid smoke. The result is a bold, smoky flavor that pairs well with grilled corn. It’s perfect for summer cookouts.
The Coconut Curry Twist
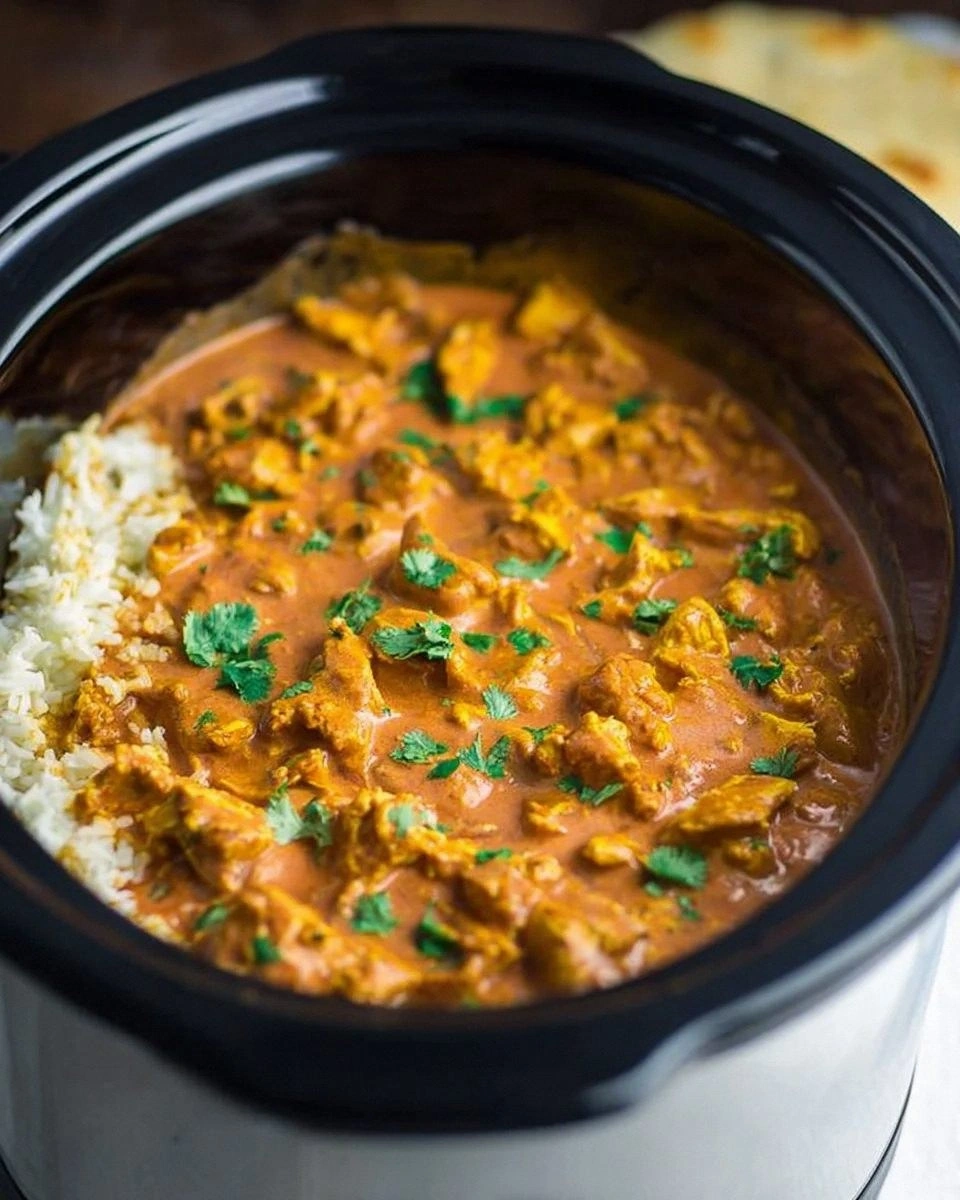
Replace the mayo with coconut milk and add a teaspoon of curry powder. The sauce becomes creamy and fragrant, with a subtle coconut sweetness. Serve with jasmine rice for a complete meal.
The Vegan Take
Use plant‑based chicken or tofu, and swap the mayo for a vegan alternative. The sauce remains creamy, and the chilis bring the heat. This version is great for those who want a plant‑based option.
The Mediterranean Flair
Add a splash of Kalamata olive oil and a handful of chopped olives. The briny notes complement the citrusy lemon juice. This variation works well with a side of tabbouleh.
The Sweet & Spicy Combo
Incorporate a tablespoon of honey into the sauce for a sweet counterpoint to the heat. The honey caramelizes slightly, giving the chicken a glossy finish. It’s a crowd‑pleaser at parties.
The Herb Garden Edition
Boost the herb content by adding thyme, basil, and a few leaves of sage. The sauce becomes aromatic and complex. This version is ideal for herb lovers.
Storing and Bringing It Back to Life
Fridge Storage
Store the cooked chicken and sauce separately in airtight containers. The chicken will stay fresh for up to 4 days, while the sauce can last up to 5 days. When you’re ready to eat, reheat the chicken in a skillet, adding a splash of water to keep it moist.
Freezer Friendly
Freeze the chicken in a freezer‑safe bag; it stays good for up to 2 months. The sauce can be frozen in a small container for 3 months. Thaw overnight in the fridge before reheating.
Best Reheating Method
Reheat the chicken on low heat in a pan, adding a tiny splash of water or broth. The water steams the chicken, restoring its juiciness. Avoid microwaving, as it can dry out the meat.