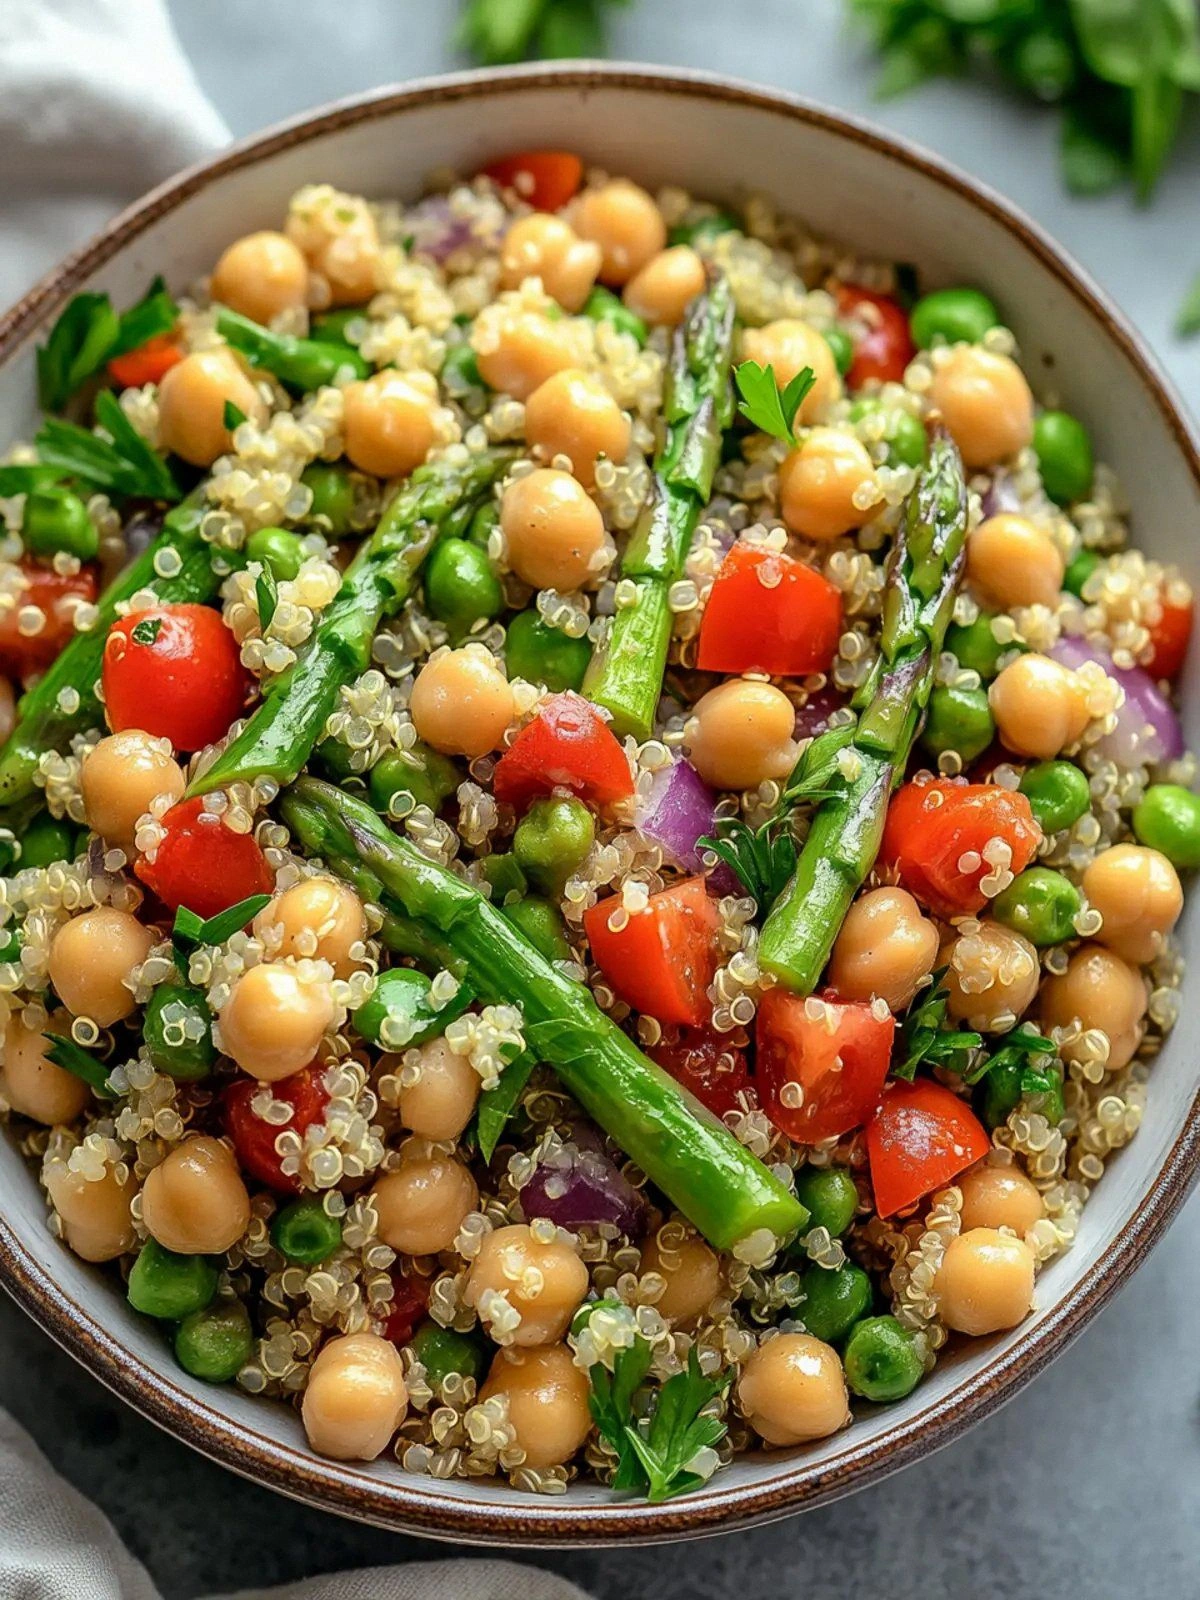
Picture this: it’s a rainy Saturday afternoon, the kitchen lights flicker, and I’m standing in front of a pot that’s been simmering for hours, only to discover that the chili has turned into a soggy, flavorless sludge. I stared at the pot, a mix of disappointment and determination swirling in my mind. That moment, that culinary catastrophe, sparked a mission: to create a vegetarian quinoa chili that not only rescues the spirit of a humble stew but elevates it into a bowl of pure, comforting delight. I’ve spent nights experimenting with quinoa, beans, and spices until I found a combination that sings.
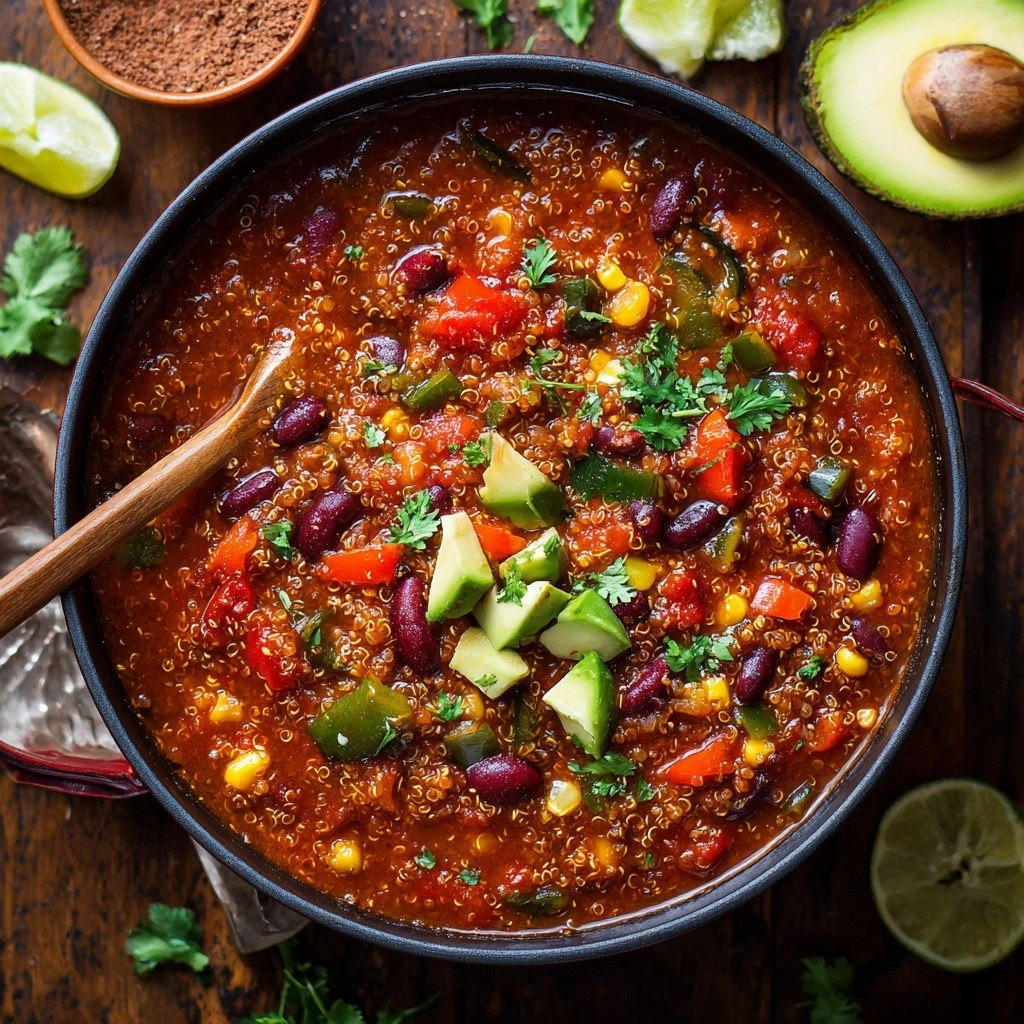
When you first open the pot, you’re greeted by a fragrant, smoky aroma that feels like a warm hug. The color is a deep, inviting red, speckled with bright corn kernels and glossy black beans. If you take a spoonful, the texture is thick yet airy, thanks to the quinoa that gives it body without overpowering. The first bite releases a burst of heat, a gentle kick from the chili powder that lingers like a whisper on your tongue. As you chew, the quinoa’s subtle nuttiness intertwines with the sweet corn and the earthy beans, creating a harmony that feels both rustic and refined.
What sets this version apart isn’t just the ingredients—it’s the philosophy behind every step. I’ve trimmed the recipe down to its essential elements, removing unnecessary fillers that often dilute flavor. The quinoa is toasted first, which unlocks a nutty aroma and prevents it from becoming mushy. The beans are pre-soaked and then sautéed with onions and garlic, creating a caramelized base that deepens the overall taste. Each spice is added at a precise moment, ensuring maximum extraction of flavor. The result is a chili that’s hearty, balanced, and, most importantly, plant‑based but still feels like a comfort classic.
And here’s a little secret: the addition of lime juice at the end gives the chili a bright, almost citrusy lift that cuts through the richness without overpowering the other flavors. It’s a technique I discovered after a late‑night kitchen experiment that involved a forgotten bottle of lime. That single splash transformed the dish from ordinary to unforgettable. I dare you to taste this and not go back for seconds. If you’re ready to see how a simple pot of chili can become a masterpiece, let me walk you through every single step — by the end, you’ll wonder how you ever made it any other way.
What Makes This Version Stand Out
- Flavor: The careful layering of spices—cumin, smoked paprika, and chili powder—creates depth that lingers long after the last spoonful.
- Texture: Toasted quinoa provides a pleasant bite, while the beans remain tender and the corn offers a pop of sweetness.
- Ingredient Quality: Using organic, non‑GMO beans and quinoa ensures a cleaner taste and a healthier profile.
- Simplicity: With just a handful of pantry staples and a few fresh vegetables, the recipe feels approachable yet impressive.
- Make‑Ahead: This chili tastes better the next day as the flavors meld, making it perfect for meal prep.
- Versatility: It can be served over rice, stuffed into tortillas, or topped with avocado for a complete meal.
- Nutrition: Packed with plant protein and fiber, it satisfies both taste buds and dietary goals.
- Time Efficiency: From prep to finish, you’re looking at less than an hour of active cooking.
Alright, let's break down exactly what goes into this masterpiece...
Inside the Ingredient List
The Flavor Base
Onions and garlic are the unsung heroes of any chili. Sautéed until translucent, they release a sweet, aromatic foundation that anchors the dish. If you skip this step, the chili will feel flat and underdeveloped. For those who love a little heat, add a pinch of crushed red pepper flakes to the onions as they cook. The result is a subtle, lingering warmth that pairs beautifully with the cumin and smoked paprika.
The Texture Crew
Quinoa is the star of the texture crew. Its unique protein profile gives the chili body, while its slightly crunchy exterior keeps the dish from becoming mushy. The beans—black and kidney—provide hearty chunks that soak up the sauce, delivering a satisfying chew. If you’re in a hurry, canned beans work fine, but rinsing them first removes excess sodium and improves mouthfeel. A splash of vegetable broth keeps the mixture moist; if you prefer a thicker consistency, let it simmer longer.
The Unexpected Star
Corn is the unexpected star that brings a touch of sweetness and a pop of color. Fresh corn kernels burst with juiciness, while canned corn offers convenience without sacrificing flavor. The lime juice, added at the very end, is the secret weapon that brightens the chili, cutting through the richness with a citrusy zing. A handful of fresh cilantro provides a fresh, herbal note that lifts the entire dish.
The Final Flourish
Top the finished chili with diced avocado, a dollop of sour cream or Greek yogurt, and a sprinkle of shredded cheese. These toppings add creaminess, coolness, and a burst of flavor that balances the heat. If you’re watching calories, skip the cheese and opt for a light yogurt or a sprinkle of nutritional yeast for a cheesy flavor without the fat. Each topping can be tailored to your taste, making this chili a canvas for creativity.
Everything's prepped? Good. Let's get into the real action...
The Method — Step by Step
- Heat a large pot over medium heat and drizzle in two tablespoons of olive oil. Add diced onion and minced garlic, cooking until the onion turns translucent and the garlic releases its perfume. This step is crucial—don't rush it. If you skip it, the chili will lack depth. Keep the heat moderate to avoid burning the garlic.
- Stir in the toasted quinoa, letting it mingle with the onions for a minute until it turns golden. The quinoa should sound slightly toasty, like a subtle crackle. This aroma signals that the quinoa is ready and will add a nutty undertone to the chili.
- Add the chopped bell pepper and a pinch of crushed red pepper flakes, sautéing for two minutes until the pepper softens but still retains a hint of crunch. The pepper brings a sweet brightness that balances the earthy beans. If you prefer a milder flavor, reduce the red pepper flakes.
- Introduce the black beans, kidney beans, and corn, stirring to combine. Pour in the diced tomatoes with their juices, then add one cup of vegetable broth. Bring the mixture to a gentle boil, then reduce heat to low and let it simmer for 20 minutes. The slow simmer allows the flavors to meld beautifully.
- Season with one tablespoon of chili powder, one teaspoon of cumin, half a teaspoon of smoked paprika, and a dash of oregano. Stir well, tasting as you go. This is the moment of truth—if the chili feels flat, add a bit more chili powder. The spices should be fragrant and not overpowering.
- Add salt and pepper to taste. Remember, you can always add more later, but you can’t take it out. The seasoning should be balanced; the chili should have a hint of heat but not burn your tongue.
- Let the chili simmer uncovered for another ten minutes, stirring occasionally. This step thickens the sauce and intensifies the flavors. If the chili becomes too thick, splash in a little more broth or water.
- Turn off the heat and stir in fresh lime juice and chopped cilantro. The lime juice brightens the dish, cutting through the richness, while cilantro adds a fresh, herbal finish. Allow the mixture to rest for a few minutes so the flavors settle.
- Taste again, adjust seasoning if necessary, then serve hot. Offer optional toppings like diced avocado, sour cream, shredded cheese, or a sprinkle of nutritional yeast. Each topping adds a different dimension—creaminess, coolness, or a cheesy punch.
That's it — you did it. But hold on, I've got a few more tricks that'll take this to another level...
Insider Tricks for Flawless Results
The Temperature Rule Nobody Follows
Keep the simmer at a gentle low heat. High heat can cause the beans to split or the quinoa to become mushy. If you notice the liquid boiling too vigorously, reduce the flame immediately. This trick ensures a consistent texture throughout the dish.
Why Your Nose Knows Best
Before adding the lime juice, close your eyes and sniff the chili. A lack of aroma indicates you need to let it cook longer. Smell is a reliable indicator of flavor development, so trust it. If the chili smells underwhelming, let it simmer a few more minutes.
The 5-Minute Rest That Changes Everything
After turning off the heat, let the chili sit covered for five minutes. This rest period allows the spices to redistribute and the quinoa to absorb any remaining liquid. It also gives the flavors time to meld, resulting in a richer taste.
The Quick Pulse Technique
If you’re short on time, use a handheld immersion blender to pulse the chili until it reaches your desired consistency. This method breaks up the beans slightly, creating a thicker, stew-like texture without turning it into a puree.
The Creamy Surprise
Add a spoonful of Greek yogurt or coconut yogurt right before serving for a creamy finish that doesn’t overpower the chili. The tanginess of the yogurt pairs beautifully with the lime and spices.
Creative Twists and Variations
This recipe is a playground. Here are some of my favorite ways to switch things up:
Mexican Street Tacos
Serve the chili in warm corn tortillas, topping with diced onions, cilantro, and a squeeze of lime. The tortilla adds a chewy texture, while the fresh toppings bring brightness. Perfect for a quick lunch.
Southwestern Bowl
Layer the chili over a bed of fluffy cauliflower rice, then drizzle with avocado crema. The cauliflower adds a low‑carb twist, and the crema gives a silky finish.
Asian Fusion
Swap the cumin for a teaspoon of toasted sesame oil, and add a splash of soy sauce. Finish with chopped green onions and a sprinkle of sesame seeds for an umami‑rich, Asian‑inspired flavor profile.
Smoky Chipotle
Replace the chili powder with chipotle powder and add a tablespoon of adobo sauce. This variation introduces a smoky depth that pairs wonderfully with the quinoa.
Breakfast Chili
Serve the chili over a poached egg or a soft‑fried egg, and top with a sprinkle of cheddar cheese. The runny yolk adds richness, making it a hearty breakfast option.
Vegan Delight
Omit the cheese and use a vegan cheese alternative or nutritional yeast. The dish remains hearty and flavorful while staying entirely plant‑based.
Storing and Bringing It Back to Life
Fridge Storage
Cool the chili completely, then transfer it to an airtight container. Store in the refrigerator for up to 5 days. The quinoa and beans will keep their texture, and the flavors will deepen.
Freezer Friendly
Divide the chili into portioned containers and freeze for up to 3 months. Thaw overnight in the refrigerator before reheating. The quinoa may soften slightly, but the overall taste remains excellent.
Best Reheating Method
Reheat on the stovetop over medium heat, adding a splash of water or broth to loosen the sauce. Stir frequently until hot. A tiny splash of water before reheating steams the chili back to perfection, preventing it from drying out.