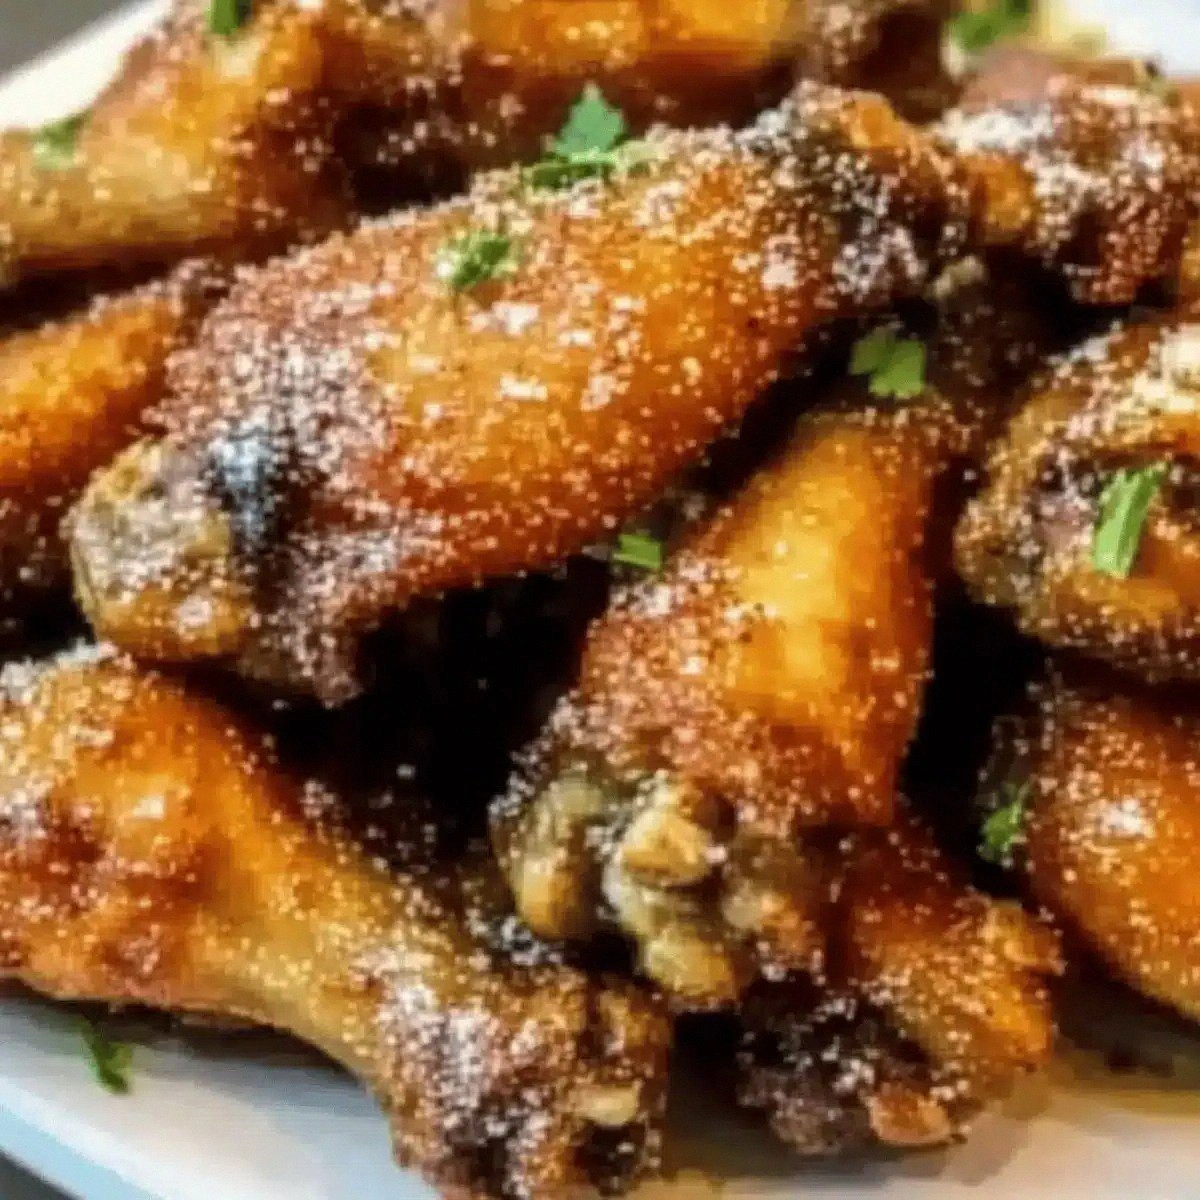
I was once the victim of a classic kitchen disaster: I ordered a bucket of chicken wings from the local bar, only to discover they were soggy, limp, and lacked any personality. I stared at that sad pile of meat and thought, “There has to be a better way.” That night, fueled by a half‑empty bottle of bourbon and a fierce craving for something that could slap my taste buds awake, I set out to create the ultimate wing experience. I’m not exaggerating when I say that this moment sparked the birth of what I now call Cowboy Butter Chicken Wings—a dish that turned my kitchen into a smoky, buttery rodeo.
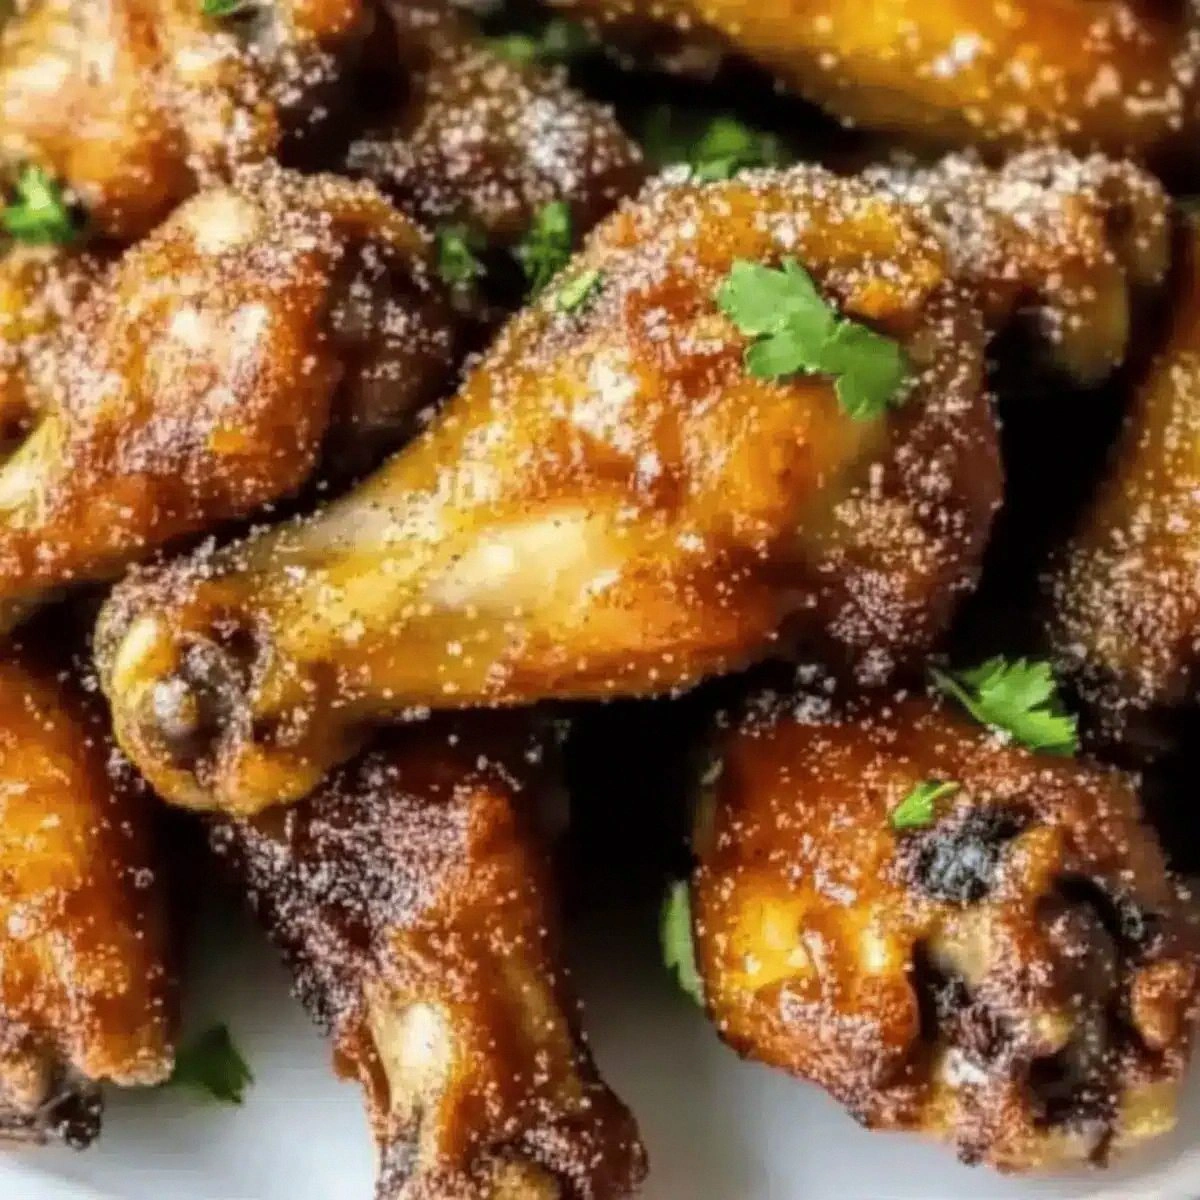
Picture this: the kitchen fills with the crackle of butter hitting a hot pan, the aroma of smoked paprika and cayenne dancing like a daring duet, and a faint whisper of Worcestershire sauce that reminds you of backyard barbecues. The wings themselves transform, their skin turning a deep amber that shatters under the fork like thin ice, while the meat inside stays juicy, tender, and infused with a buttery heat that makes you gasp with every bite. The moment you pull them out of the oven, the whole house smells like a western saloon after a midnight showdown—smoky, spicy, and absolutely irresistible.
What sets this version apart from every other wing recipe you’ve tried is the marriage of two seemingly opposite worlds: the rich, silky decadence of butter and the rugged, smoky kick of a cowboy‑style spice blend. Most recipes either drown the wings in a sauce that never truly sticks, or they over‑cook them until the meat is dry and the skin is rubbery. I’ve cracked the code by first crisping the wings in the oven, then tossing them in a butter‑based glaze that clings like a second skin. The result? A wing that’s crunchy on the outside, buttery on the inside, and just the right amount of heat to make you reach for another.
I’m about to spill the beans on a secret ingredient that most chefs overlook—a splash of Worcestershire sauce that adds umami depth without any overt tang. This little addition is the game‑changer that elevates the flavor profile from “good” to “hands down the best version you’ll ever make at home.” Okay, ready for the game‑changer? Let me walk you through every single step — by the end, you’ll wonder how you ever made it any other way.
What Makes This Version Stand Out
- Taste: The buttery glaze delivers a rich, velvety mouthfeel while the smoked paprika and cayenne bring a smoky heat that lingers just long enough to keep you coming back for more.
- Texture: Oven‑baked until the skin is crisped to a perfect snap, the wings retain a juicy interior that refuses to dry out, creating a satisfying contrast in every bite.
- Simplicity: Only ten ingredients, all pantry staples, mean you can pull this together without a trip to the specialty store—no fancy equipment required.
- Uniqueness: The blend of butter, Worcestershire, and smoked paprika isn’t something you find in a typical wing recipe; it’s a flavor combo that feels both familiar and daringly new.
- Crowd Reaction: I dare you to taste this and not go back for seconds; even the most wing‑averse friends will be converted on the spot.
- Ingredient Quality: Using real unsalted butter and fresh parsley adds layers of freshness that cheap shortcuts simply can’t match.
- Cooking Method: The two‑step process—crisping first, then glazing—ensures the sauce never sogs the skin, a mistake most recipes get completely wrong.
- Make‑Ahead Potential: You can prep the wings and glaze up to a day ahead, then finish them quickly when guests arrive, saving you stress and time.
Inside the Ingredient List
The Flavor Base
The backbone of any great wing is a well‑balanced flavor base, and here it’s built around unsalted butter, garlic powder, onion powder, and Worcestershire sauce. Butter is the carrier of flavor; it melts into the crevices of the skin, ensuring every bite is coated in richness. Garlic and onion powders provide a subtle depth that doesn’t overwhelm the palate, while Worcestershire adds a savory umami note that feels like a secret handshake between the spice and the meat. If you skip the Worcestershire, you’ll notice a flatness that’s hard to recover later.
The Texture Crew
Salt and black pepper are the classic duo that does more than just season—they help draw out moisture from the skin, encouraging that coveted crunch. Smoked paprika not only contributes a deep, earthy flavor but also adds a reddish hue that makes the wings look as bold as they taste. Cayenne pepper is the spark that turns a good wing into a spicy delight; a little goes a long way, so adjust to your heat tolerance. Remember, the key to texture is a hot oven (425°F) that quickly renders the fat and crispes the skin without drying the meat.
The Unexpected Star
Fresh parsley might seem like a garnish, but its bright, herbaceous notes cut through the richness of the butter, providing balance and a pop of color. When you sprinkle it over the finished wings, it not only looks gorgeous but also adds a fresh finish that prevents the dish from feeling overly heavy. If you can’t find fresh parsley, a tablespoon of dried parsley will work, though the flavor won’t be as vibrant.
The Final Flourish
A quarter cup of fresh parsley and a drizzle of melted butter right before serving are the finishing touches that turn a good dish into a masterpiece. The butter creates a glossy sheen that makes the wings look restaurant‑ready, while the parsley adds that final burst of freshness. If you’re feeling extra indulgent, a squeeze of lemon juice can brighten the palate even more, but I’ll be honest — I ate half the batch before anyone else got to try it.
Everything's prepped? Good. Let's get into the real action...
The Method — Step by Step
Preheat your oven to 425°F (220°C) and line a large baking sheet with aluminum foil, then place a wire rack on top. This setup allows air to circulate around the wings, ensuring even crisping. While the oven heats, pat the chicken wings dry with paper towels—this is the moment where you hear the faint rustle of moisture evaporating, a sign that crispiness is on its way. Toss the wings in a bowl with 1 teaspoon of salt, 1 teaspoon of black pepper, and 1 teaspoon of smoked paprika, making sure each piece is evenly coated.
Arrange the seasoned wings in a single layer on the wire rack, leaving a little space between each piece. This spacing prevents steam from pooling, which would otherwise make the skin soggy. Slide the tray into the oven and bake for 25‑30 minutes, flipping the wings halfway through. You’ll know they’re ready when the skin starts to turn a deep golden brown and you hear that satisfying crackle—absolute perfection.
Kitchen Hack: For an extra‑crisp finish, broil the wings for the last 2‑3 minutes, watching closely to avoid burning.While the wings are baking, melt 1/2 cup of unsalted butter in a saucepan over medium heat. As the butter melts, add 1 teaspoon of garlic powder, 1 teaspoon of onion powder, 1 tablespoon of Worcestershire sauce, and 1/2 teaspoon of cayenne pepper. Stir continuously; the butter will foam, and the spices will release their aromas, filling the kitchen with a scent that makes your stomach growl. Once the mixture is smooth and slightly thickened, remove it from the heat and set aside.
When the wings have reached that beautiful amber hue, pull the tray out of the oven and let them rest for 5 minutes. This brief pause lets the juices redistribute, preventing them from spilling out when you toss them later. While they rest, give the butter glaze one final stir to re‑emulsify any separated fat—this ensures a silky coating that clings to every crevice.
Transfer the hot wings into a large mixing bowl. Pour the butter‑spice glaze over the wings, then toss vigorously until every wing is glossy and evenly coated. The sauce should cling like a second skin, not pool at the bottom. If you notice any wings looking dry, add a splash more melted butter; this is the moment where the magic really happens.
Watch Out: Do not over‑mix the wings after adding the glaze, or the coating can become soggy instead of crisp.Return the coated wings to the wire rack for a second blast in the oven—this time for just 5‑7 minutes. This step re‑crispes the skin after it’s been bathed in butter, locking in the flavor while preserving the crunch. Keep a close eye on them; the butter can brown quickly, and you want that perfect caramelization without burning. The edges should start pulling away from the meat, indicating that the skin is perfectly set.
While the final crisping is underway, finely chop 1/4 cup of fresh parsley. As soon as the wings emerge from the oven, sprinkle the parsley over them while they’re still hot. The heat will wilt the parsley just enough to release its bright, herbaceous aroma, creating a beautiful contrast to the deep, buttery glaze. This is the finishing touch that transforms a simple wing into a show‑stopping appetizer.
Kitchen Hack: If you like extra heat, drizzle a few drops of hot sauce over the wings right after sprinkling parsley for a layered spice profile.Remove the wings from the oven and let them sit for 2‑3 minutes before serving. This short rest lets the butter set slightly, preventing it from sliding off the plate. Serve the wings on a platter with celery sticks and a side of ranch or blue cheese dressing if you like, though the buttery glaze is bold enough to stand alone. That sizzle when it hits the pan? Absolute perfection. And now the fun part—dig in and watch everyone fight over the last piece.
That’s it — you did it. But hold on, I’ve got a few more tricks that’ll take this to another level. From a quick dusting of smoked sea salt to a finishing drizzle of honey for a sweet‑heat combo, the possibilities are endless. Stay with me here — this is worth it.
Insider Tricks for Flawless Results
The Temperature Rule Nobody Follows
Most home cooks set their oven to “high” and hope for the best, but the secret to a perfect wing is a consistent 425°F (220°C) throughout the cooking process. Anything lower leaves the skin soggy, anything higher burns the butter before the meat cooks through. I keep a reliable oven thermometer on the counter; if your oven runs hot, lower it by 15‑20°F. This small adjustment makes a world of difference in achieving that crunchy‑yet‑juicy texture.
Why Your Nose Knows Best
When the butter glaze starts to turn a light amber and you catch a faint nutty aroma, that’s your cue that the flavor is developing perfectly. Trust that scent—if it smells too buttery or starts to smell burnt, lower the heat immediately. Your nose is a far better thermometer than any gadget when it comes to butter; it will tell you when the sauce has reached that sweet spot where it’s rich but not greasy.
The 5‑Minute Rest That Changes Everything
After the first bake, let the wings rest for exactly five minutes. This short pause allows the skin’s outer layer to firm up, which means when you toss them in the glaze, the coating adheres rather than slides off. Skipping this step is a common mistake—my friend tried to skip it once and ended up with a soggy mess that no amount of butter could rescue.
Butter‑Bath Boost
If you want an extra glossy finish, melt an additional tablespoon of butter just before serving and drizzle it over the wings. The hot butter creates a lacquer that makes the wings look restaurant‑ready and adds a final burst of richness. This is pure magic, especially if you’re serving the wings at a party where presentation matters as much as flavor.
Seasoning Layering Mastery
Don’t rely on a single seasoning dump. Instead, season the wings before baking, then add a second layer of spice in the butter glaze. This double‑layer approach builds depth; the first layer creates a flavor base, while the second amplifies the heat and smokiness. If you ever wondered why some wings taste flat, it’s because they missed that second seasoning punch.
The Final Flip
A quick flip halfway through the second crisping phase ensures both sides get equal exposure to the oven’s heat. This prevents one side from becoming overly dark while the other stays pale. It’s a tiny step that makes a massive visual and textural difference—no one wants a half‑cooked wing on the plate.
Creative Twists and Variations
This recipe is a playground. Here are some of my favorite ways to switch things up:
Maple‑Chipotle Cowboy
Swap half the smoked paprika for chipotle powder and add a tablespoon of pure maple syrup to the butter glaze. The result is a sweet‑smoky wing with a subtle heat that pairs beautifully with the buttery base. Perfect for fall gatherings when you want that cozy, caramelized flavor.
Garlic‑Lemon Zest
Add the zest of one lemon and an extra teaspoon of fresh minced garlic to the glaze. The citrus brightens the richness, while the garlic intensifies the aromatic profile. This version is ideal for summer barbecues when you want a lighter, fresher bite.
Herb‑Infused Ranch
Mix a tablespoon of dried dill, a pinch of chives, and a splash of buttermilk into a ranch dip. Serve the wings with this herb‑laden sauce for a tangy contrast that cuts through the butter’s richness. It’s a crowd‑pleaser for anyone who loves a classic dip with a twist.
Spicy Sriracha Drizzle
After plating, drizzle a mixture of equal parts sriracha and melted butter over the wings. The sriracha adds a vinegary heat that balances the buttery sweetness, creating a layered flavor profile that’s addictive. This is the go‑to for spice lovers who crave that extra kick.
Smoky Bacon Crumble
Crisp up some bacon, crumble it, and sprinkle over the finished wings. The salty, smoky bacon bits add texture and an extra dimension of flavor that makes each bite feel like a celebration. It’s a decadent upgrade for game‑day feasts.
Asian‑Style Soy‑Ginger Glaze
Replace Worcestershire sauce with soy sauce, add a teaspoon of grated ginger, and a splash of rice vinegar to the butter glaze. This Asian twist introduces umami depth and a subtle tang, turning the classic cowboy wing into an East‑meets‑West sensation.
Storing and Bringing It Back to Life
Fridge Storage
Place cooled wings in an airtight container and store them in the refrigerator for up to 3 days. To keep the skin from getting soggy, line the container with a paper towel to absorb excess moisture. When you’re ready to serve, reheat them in a preheated 400°F oven for 10‑12 minutes, and they’ll regain their crispness.
Freezer Friendly
If you want to make a big batch, freeze the baked (but not glazed) wings on a parchment‑lined tray until solid, then transfer them to a zip‑top freezer bag. They’ll keep for up to 2 months. When you’re ready to eat, bake them straight from frozen at 425°F for 20‑25 minutes, then toss with the butter glaze.
Best Reheating Method
For the ultimate reheating, use a hot oven rather than a microwave. Spread the wings on a wire rack and heat at 425°F for 8‑10 minutes. Add a tiny splash (about a tablespoon) of water to the pan before reheating; the steam helps revive the meat’s juiciness while the high heat restores the crisp skin.