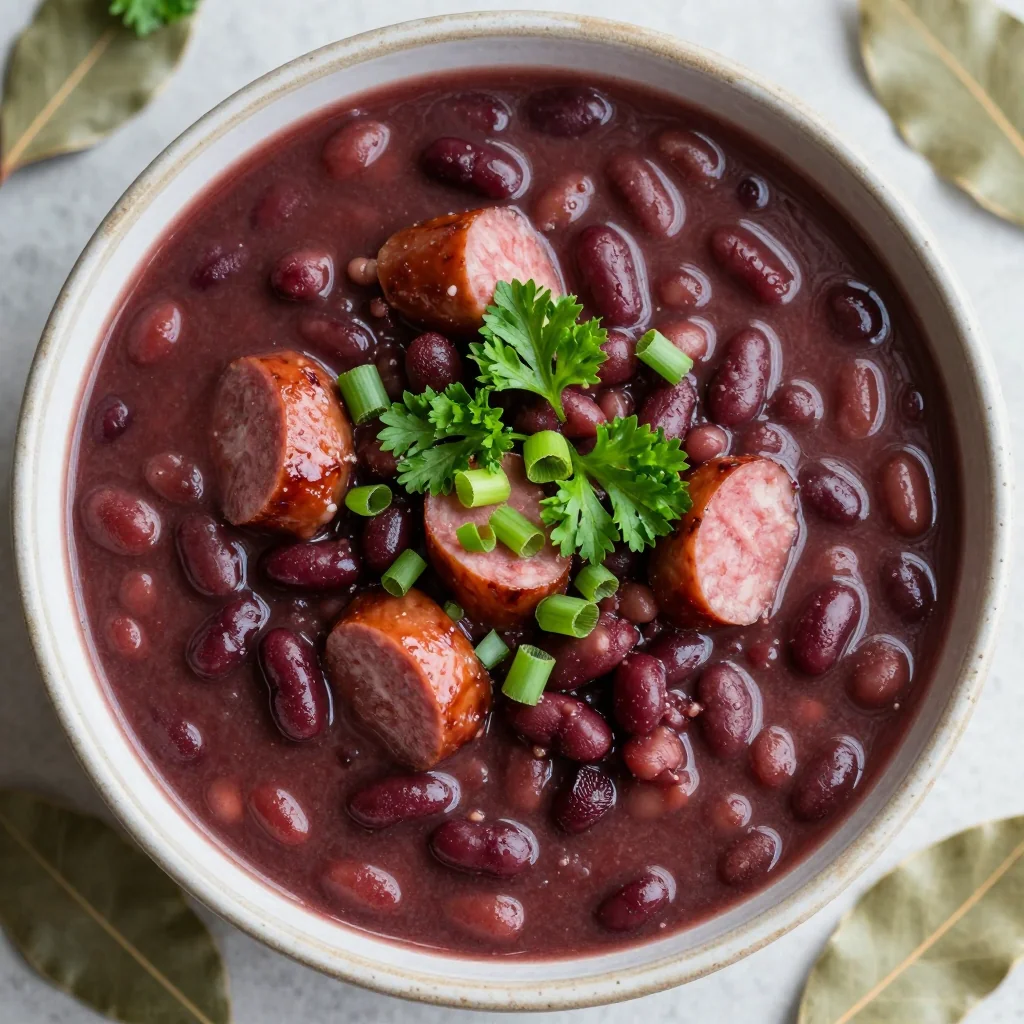
Picture this: a scorching Saturday night, a half‑finished pot of chili on the stove, a stray handful of ground beef spilling onto the counter, and the kitchen smelling like a carnivore’s dream. I was halfway through a recipe that promised “quick and easy” and ended up looking like a culinary crime scene. I stared at the mess, laughed, and decided that if I’m going to spend an afternoon with my taste buds, I’m going to make it count. So I pulled out the slow cooker, grabbed my favorite spices, and set out to create a chili that would make my friends question their life choices.
The first thing you notice is the aroma—deep, smoky, and a little sweet from the tomatoes, with a faint whisper of beer that lingers like a secret. The sound is a comforting sizzle as the beef browns, followed by the gentle clink of the slow cooker lid sealing. Touching the pot, you feel the heat radiating from the slow‑cooked meat, and you know it’s working its slow‑motion magic. When you finally taste the first spoonful, the flavors explode: a rich, meaty base, a subtle tang from the tomatoes, and a peppery kick that lingers. Every bite is a reminder that this isn’t just food; it’s a story told in layers.
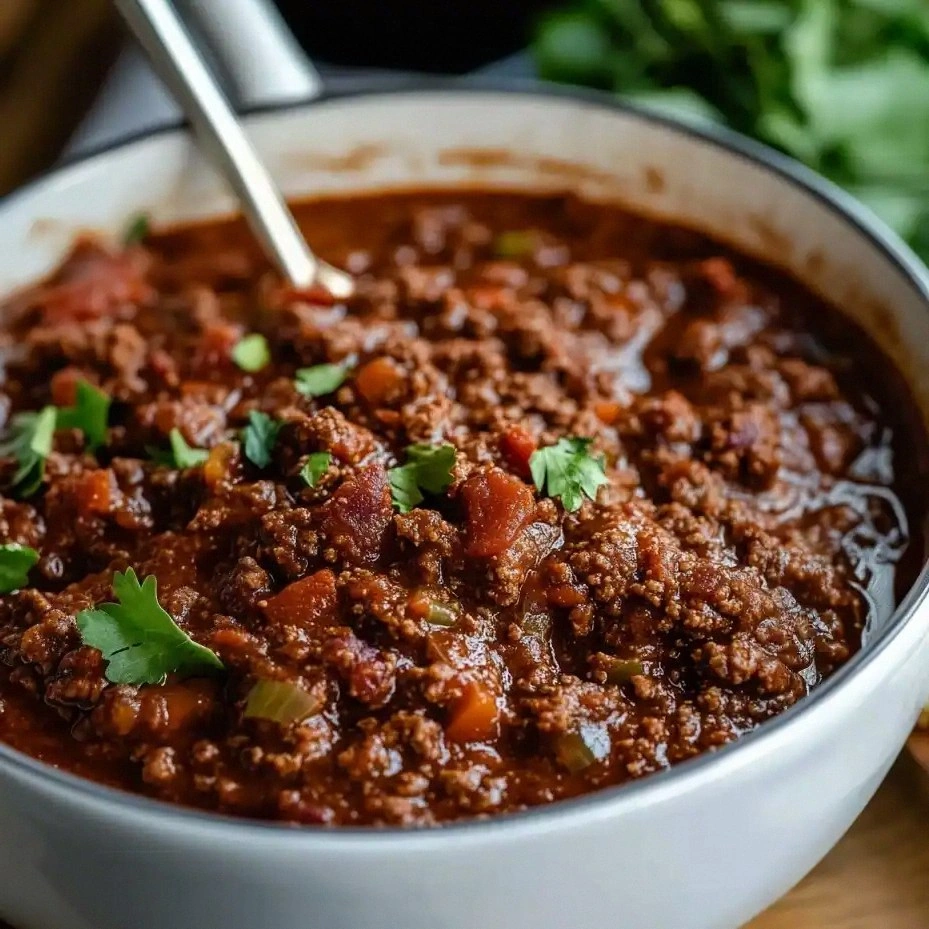
What makes this version stand out is that it strips away the usual beans and replaces them with a hearty mix of beef, chuck roast, and a blend of spices that deliver depth without overwhelming the palate. The use of beer adds a subtle malty sweetness that balances the acidity of the tomatoes, while the slow cooking process melds the flavors into a velvety sauce that coats the meat like a silky blanket. This isn’t the run‑of‑the‑mill chili you find on a grocery aisle; it’s a dish that invites conversation, a dish that can be served over rice, baked potatoes, or even as a topping for nachos.
I’ll be honest—when I first tasted this, I ate half the batch before anyone else even had a fork. I dare you to taste this and not go back for seconds. Most recipes get this completely wrong, either by under‑seasoning or over‑cooking the meat. Here, the slow cooker does all the heavy lifting, ensuring each bite is tender, flavorful, and forgiving. Picture yourself pulling this out of the slow cooker, the whole kitchen smelling incredible, and seeing the golden, bubbling surface that promises a hearty meal for any crowd.
What Makes This Version Stand Out
- Bold Flavor: The combination of ground beef and chuck roast gives a depth of flavor that’s impossible to replicate with a single meat type. The beef’s fat content provides a natural richness, while the chuck roast’s connective tissue breaks down into silky, melt‑in‑your‑mouth texture.
- Texture Magic: Slow cooking transforms the chuck roast into a tender, shreddable piece that clings to the chili base, creating a mouthfeel that feels both comforting and luxurious.
- Ingredient Simplicity: No beans, no complex sauces—just fresh produce, spices, and a splash of beer. This simplicity makes the recipe a breeze for busy weeknights.
- Versatile Serving Options: Serve it over rice, mash it onto a baked potato, or use it as a hearty topping for nachos. The sauce’s consistency allows for multiple serving styles.
- Crowd‑Pleaser: The bold, smoky profile makes it a hit at potlucks, game‑day gatherings, or a comforting family dinner.
- Make‑Ahead Friendly: The chili keeps well in the fridge or freezer, and reheats beautifully, making it ideal for meal prep.
Inside the Ingredient List
The Flavor Base
The foundation of any great chili is its flavor base, and in this recipe, it starts with 2 lbs of ground beef and 1 lb of chuck roast. The beef provides a quick browning action that releases savory juices, while the chuck roast, with its higher fat content, slowly dissolves into a tender, melt‑in‑your‑mouth texture. These two meats work together like a duet: one offers a quick bite, the other delivers a lingering finish. If you skip either, you’ll notice a noticeable shift in both texture and depth. Ground beef alone will be too lean, while chuck roast alone will be too tough if not cooked long enough. The combination ensures that each spoonful has a balanced chew and a satisfying richness.
The Texture Crew
The texture crew includes 2 medium onions, 2 bell peppers, and 4 cloves of garlic. These aromatics are diced finely so they meld into the sauce without standing out. Onions bring sweetness and body, bell peppers add a subtle crunch and color, and garlic provides a sharp, aromatic punch that cuts through the richness. If you prefer a smoother sauce, pulse the onions and peppers in a food processor before adding them; the result is a silky, uniform base. If you’re a fan of a rustic, chunky chili, leave them diced as is. Either way, the texture crew is essential for a balanced mouthfeel.
The Unexpected Star
Beer might sound like an odd choice for a chili, but it’s a secret weapon that adds a subtle malty sweetness and helps balance the acidity of the tomatoes. A ½ cup of a light lager or pale ale works best—avoid dark beers that could overpower the dish. The alcohol evaporates during the slow cooking process, leaving behind a nuanced flavor profile that’s both comforting and complex. If you’re not a fan of beer, replace it with an equal amount of beef broth for a milder taste. This substitution will still provide depth but will lack the unique caramelized undertones that beer brings.
The Final Flourish
The final flourish is a blend of spices: 3 tablespoons of chili powder, 2 teaspoons of ground cumin, 2 teaspoons of smoked paprika, and 1 teaspoon of oregano. These spices create a smoky, earthy backbone that anchors the dish. The chili powder adds heat and color, cumin brings a nutty warmth, smoked paprika offers a subtle smokiness, and oregano adds a hint of herbaceous brightness. Together, they form a symphony of flavors that dance on the tongue. If you like your chili spicy, increase the chili powder or add a pinch of cayenne pepper. For a milder version, reduce the chili powder and omit the paprika.
Everything’s prepped? Good. Let’s get into the real action.
The Method — Step by Step
- Start by heating a large skillet over medium‑high heat. Add the ground beef, breaking it up with a wooden spoon. Cook until it turns a deep brown, about 5–7 minutes. This browning step locks in flavor and creates a caramelized crust that will deepen the chili’s taste. Once browned, transfer the beef to the slow cooker.
- In the same skillet, add a splash of oil and sauté the diced onions and bell peppers until they soften and become translucent, about 4 minutes. The onions should start to release their natural sugars, creating a sweet undertone that balances the spices. Add the minced garlic and cook for an additional 30 seconds until fragrant. This aromatics blend will form the aromatic core of the chili.
- Place the sautéed vegetables into the slow cooker, layering them over the browned beef. Then add the chuck roast, ensuring it’s submerged in the mixture. The roast’s fat will slowly break down, infusing the entire pot with tenderness and richness.
- Add the diced tomatoes (2 14.5 oz cans) and tomato paste (1 6 oz can). Stir to combine, ensuring the tomato paste dissolves into the liquid. The paste thickens the sauce and adds a concentrated tomato flavor that’s essential for depth.
- Pour in 2 cups of beef broth and ½ cup of beer, then sprinkle in the chili powder, cumin, smoked paprika, and oregano. Stir thoroughly so the spices coat every ingredient. The broth provides moisture, while the beer adds a subtle sweetness that balances the acidity of the tomatoes.
- Cover the slow cooker and cook on low for 8–10 hours or on high for 4–5 hours. The low setting allows the flavors to meld slowly, while the high setting speeds up the process for those in a hurry. Regardless of the setting, the result should be a thick, hearty sauce that clings to the meat.
- About 30 minutes before serving, taste the chili and season with salt and pepper to taste. The slow cooking process can mellow the spices, so a final seasoning adjustment ensures the dish remains vibrant. If you prefer a smoky finish, add a dash of smoked paprika at this point.
- Serve hot, topped with shredded cheese, sour cream, or fresh cilantro if desired. Pair it with a side of rice or a baked potato for a complete meal. The chili’s thick consistency makes it a perfect topping for nachos, too.
That’s it— you did it. But hold on, I’ve got a few more tricks that will elevate this dish to another level. Let’s dive into insider tricks that will make your chili unbeatable.
Insider Tricks for Flawless Results
The Temperature Rule Nobody Follows
Most people set their slow cooker to “low” or “high” and forget about the importance of temperature. The key is to let the pot heat up slowly. Start on high for the first 30 minutes to bring the ingredients to a gentle simmer, then switch to low for the remainder of the cooking time. This gradual temperature rise prevents the meat from toughening and allows the spices to infuse deeply. A friend once tried cooking on high for the entire time and ended up with a watery, over‑cooked chili. The lesson? Patience pays off.
Why Your Nose Knows Best
Your sense of smell is your best ally in the kitchen. As the chili simmers, the aroma will shift from raw tomato to caramelized beef. When you notice a hint of toasted spice, that’s a sign the flavors are developing. If the scent is too sharp, let it cook a bit longer; if it’s too mild, add a pinch of chili powder. Trust your nose, and you’ll never over‑season again.
The 5‑Minute Rest That Changes Everything
After the slow cooker shuts off, let the chili rest for five minutes before scooping. This brief pause allows the juices to redistribute, ensuring each bite is as moist as possible. It also gives the spices a chance to settle, preventing any sharp edges in flavor. A quick stir before serving will bring the sauce back together, but the rest period is what makes the chili silky and satisfying.
Add a Touch of Sweetness
If you’re a fan of a slightly sweet chili, add a tablespoon of brown sugar or a splash of maple syrup in the final 15 minutes of cooking. The sweetness balances the acidity and brings a caramelized finish. Be careful not to add too much; a little goes a long way. The result is a chili that feels like a comforting hug.
Use the Right Lid
The lid of your slow cooker plays a critical role in moisture retention. A tight‑fitting lid locks in steam and prevents the chili from drying out. If you’re using a glass lid, ensure it’s clean and free of scratches that could allow steam to escape. A well‑sealed pot means a thicker, richer sauce that clings to everything it touches.
Creative Twists and Variations
This recipe is a playground. Here are some of my favorite ways to switch things up:
Mexican Street Taco Chili
Swap the beer for a splash of tequila and add a teaspoon of chipotle powder. Serve over warm corn tortillas, topped with diced avocado and fresh cilantro. The smoky, citrusy notes bring a street‑food vibe to the table.
Cajun Kick
Add a tablespoon of Cajun seasoning and a pinch of cayenne pepper to the spice mix. The result is a chili that’s both spicy and fragrant. Pair it with a side of cornbread for a Southern comfort meal.
Vegetarian Version
Replace the beef and chuck roast with a mix of lentils and diced tofu. Use vegetable broth instead of beef broth and add a handful of spinach for extra greens. The texture changes, but the flavor profile remains bold and satisfying.
Sweet and Smoky BBQ
Add a half cup of your favorite BBQ sauce and a tablespoon of honey during the last 30 minutes of cooking. The sweetness of the honey balances the smoky BBQ, creating a chili that’s both comforting and indulgent.
Breakfast Chili
Serve the chili over a bowl of eggs for a hearty breakfast. Top with a sprinkle of cheddar cheese and a dash of hot sauce. The savory, protein‑packed dish will keep you full until lunch.
Storing and Bringing It Back to Life
Fridge Storage
Store the chili in an airtight container in the refrigerator for up to 5 days. The slow cooker’s gentle heat has already sterilized the dish, ensuring it stays fresh. When ready to eat, heat on the stove over low heat, stirring occasionally.
Freezer Friendly
Divide the chili into freezer‑safe portions and seal them in zip‑lock bags or containers. Freeze for up to 3 months. Thaw overnight in the refrigerator before reheating. This makes it a convenient option for busy weekdays.
Best Reheating Method
To reheat, add a splash of water or beef broth to the pot and heat on low until steaming. The added liquid prevents the chili from drying out and restores its silky texture. If the sauce is too thick, simply stir in a bit more broth until it reaches your desired consistency.