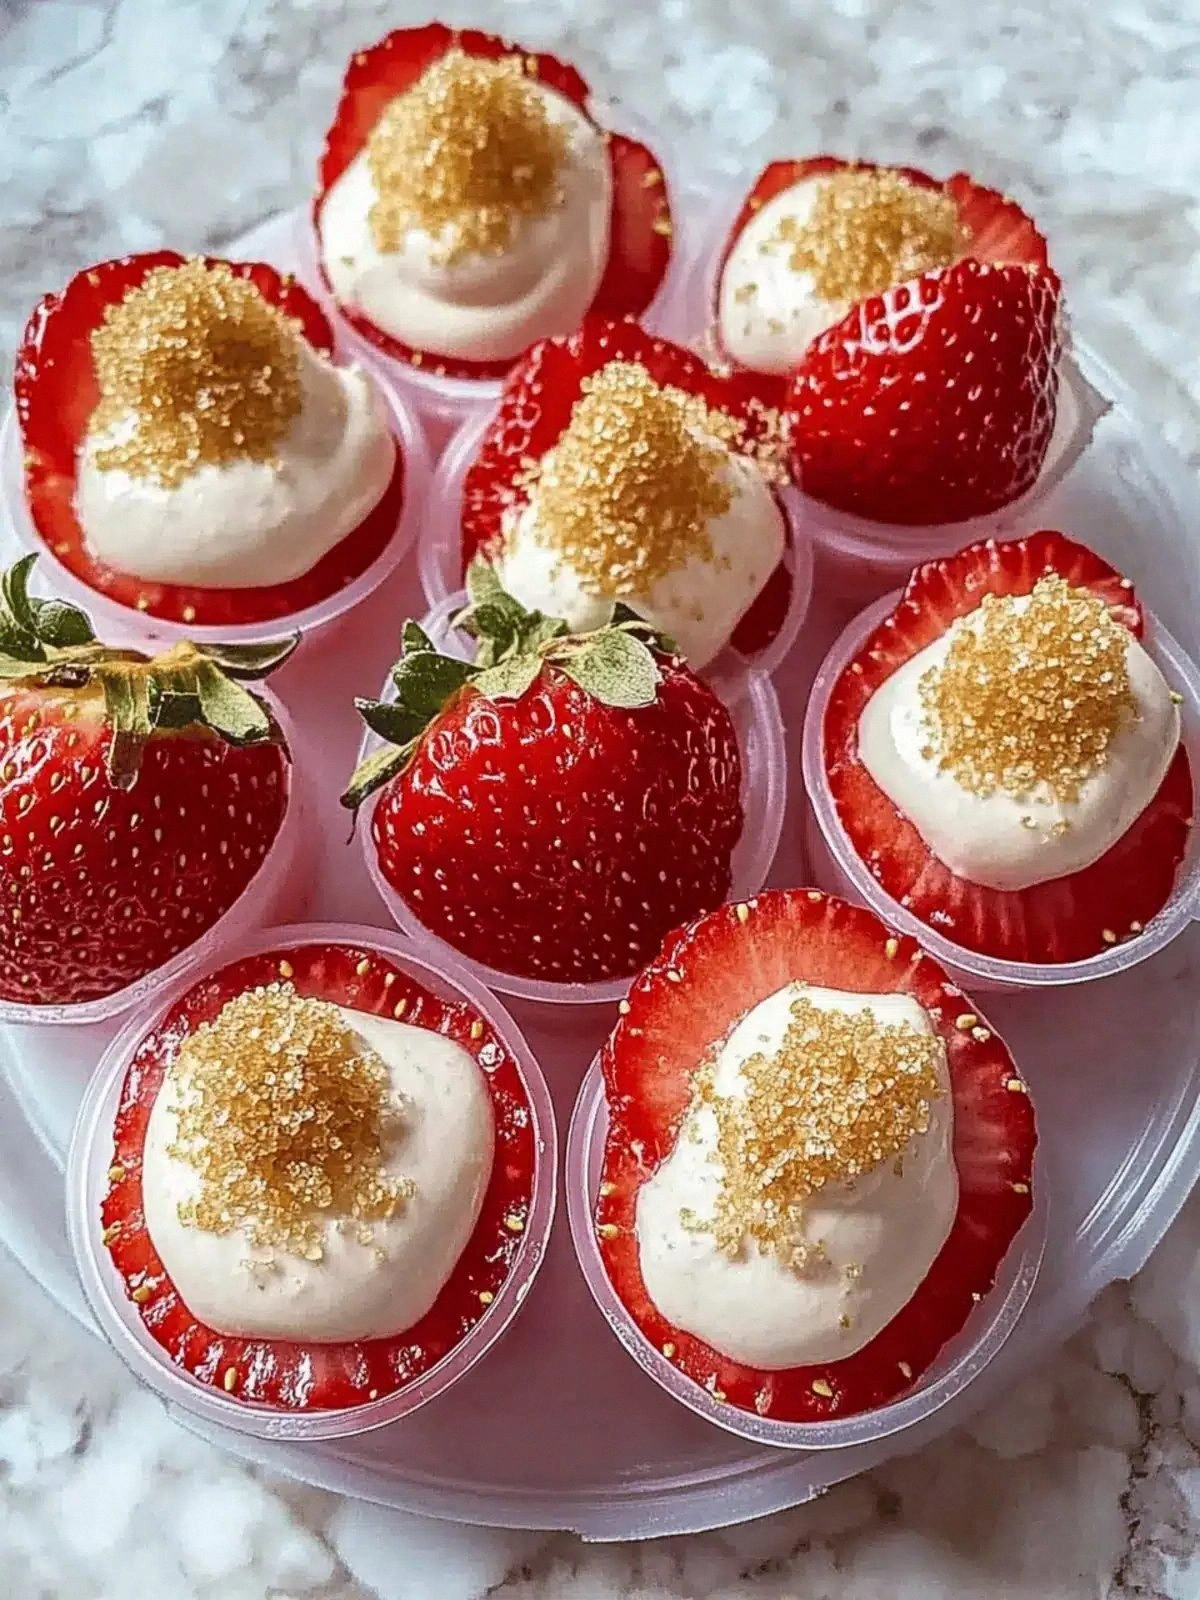
I remember the night I was supposed to host a tiny brunch for a group of friends and the kitchen turned into a chaotic battlefield. The fridge was empty, the pantry smelled like burnt sugar, and the only thing I could salvage was a handful of fresh strawberries and a tub of plain Greek yogurt. I stared at the ingredients list, felt the weight of culinary failure, and decided to turn that disaster into a daring experiment. That night, I whipped up what would become the most irresistible, bite‑sized treat I’ve ever made: Strawberry Yogurt Dots with White Chocolate Drizzle. I dared myself to taste it, and I won’t lie— I ate half the batch before anyone else could get a bite.
If you’ve ever tried to make a yogurt dessert that feels like a cloud, you know the struggle. The typical recipe tends to be either too dry, too runny, or simply lacks that “wow” factor. My version is the opposite; it’s a symphony of creamy yogurt, sweet strawberries, a hint of citrus, and the glossy finish of melted white chocolate. I’ve combined textures that dance on the tongue—soft, slightly chewy dots that crackle gently when you bite, followed by a silky drizzle that melts into the yogurt. The result is a snack that feels like a dessert, a breakfast, and a party trick all rolled into one. I promise you, this is hands down the best version you'll ever make at home.
Picture yourself pulling these golden dots out of the oven, the kitchen smelling of fresh fruit and vanilla, the air thick with anticipation. Imagine the moment the first dot meets your tongue—a burst of strawberry, a splash of yogurt, a whisper of lemon zest, and a smooth, sweet chocolate finish that lingers. It’s not just a snack; it’s an experience that will have your friends begging for the recipe. I’ll walk you through every single step, from the first whisk to the final drizzle, and by the end, you’ll wonder how you ever made it any other way. Let’s dive in and turn that kitchen disaster into a culinary triumph.
I’ve spent countless hours tweaking ratios, testing temperatures, and balancing flavors. My version has a secret that most recipes miss—a subtle touch of lemon zest that brightens the yogurt, and a splash of honey that brings a natural sweetness without overpowering the strawberries. The use of all‑purpose flour and baking powder gives the dots a tender, cake‑like structure that still holds its shape when you bite into them. The final touch, a drizzle of melted white chocolate, adds a luxurious sheen and a contrasting flavor profile that makes each bite unforgettable. If you’re ready for a snack that’s both comforting and indulgent, stick around; the next section will reveal what sets this recipe apart from the rest.
Okay, ready for the game‑changer? The method I’ve perfected uses a low‑temperature bake to keep the yogurt creamy inside while creating a golden crust on the outside. The result is a snack that’s both visually stunning and delightfully chewy, with a flavor profile that’s sweet, tart, and subtly aromatic. I’ve added a few micro‑challenges along the way—like testing the batter’s consistency by dropping a spoonful into the pan—to ensure that every batch turns out perfect. The next step? Let’s break down exactly what goes into this masterpiece.
What Makes This Version Stand Out
- Flavor: The combination of fresh strawberry puree, Greek yogurt, and a dash of lemon zest creates a complex taste that is simultaneously sweet, tart, and refreshing.
- Texture: The batter’s unique ratio of flour and yogurt produces a chewy interior that snaps gently when you bite, while the outer crust remains crisp and golden.
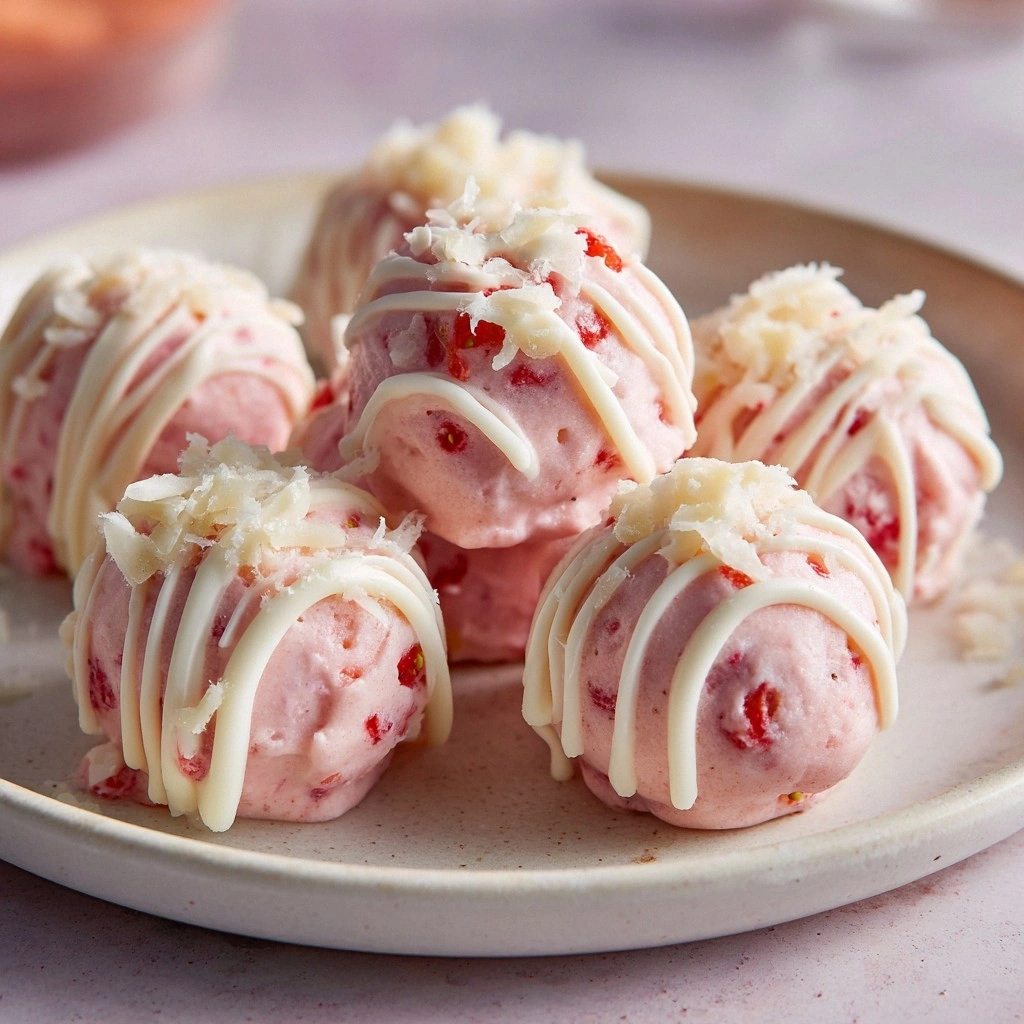
- Visual Appeal: The white chocolate drizzle not only adds flavor but also gives the dots a glossy finish that looks as good as it tastes.
- Ease of Preparation: No need for fancy equipment—just a whisk, a baking sheet, and a reliable oven will do.
- Make‑Ahead Friendly: Once baked, the dots can be stored in the fridge for up to a week or frozen for longer preservation without losing quality.
- Kid‑Friendly: The bright colors and sweet flavors make this snack a hit with children, and the small size keeps it safe for little hands.
- Versatility: The recipe can be adapted for vegan or dairy‑free diets by substituting plant‑based yogurt and a vegan chocolate alternative.
- Health Conscious: Using natural sweeteners like honey and fresh fruit keeps the sugar content balanced while delivering a nutrient‑rich snack.
Inside the Ingredient List
The Flavor Base
At the heart of every great dessert is a flavor foundation that balances sweetness and acidity. In this recipe, plain Greek yogurt provides a tangy base that pairs perfectly with the bright sweetness of fresh strawberries. The yogurt’s natural protein content also gives the batter a desirable body, ensuring that the dots hold their shape during baking. If you skip the yogurt, the batter will become too runny, and the final product will lack that signature creamy texture.
The Texture Crew
The combination of all‑purpose flour and baking powder gives the dots their unique chewiness. The flour acts as a binder, while the baking powder introduces a lightness that prevents the batter from becoming dense. Swapping the flour for whole‑grain or oat flour will alter the flavor profile and increase fiber content, but you’ll need to adjust the liquid ratio to maintain consistency.
The Unexpected Star
Lemon zest is the unsung hero that elevates this recipe. It adds a subtle citrus brightness that cuts through the sweetness of the strawberries and honey, creating a more rounded flavor. A pinch of salt is also essential; it enhances the overall taste and balances the natural sugars present in the yogurt and fruit. If you’re allergic to citrus, a dash of vanilla extract can serve as a mild substitute, though the flavor profile will shift slightly.
The Final Flourish
White chocolate is more than just a decorative drizzle; it contributes a creamy, buttery sweetness that contrasts nicely with the tangy yogurt. The glossy finish it creates also adds an elegant presentation. If you’re looking for a darker, richer alternative, dark chocolate can be used, but be aware that it will introduce a bittersweet note that may overpower the strawberries.
Everything's prepped? Good. Let's get into the real action—baking those dots to perfection. The key to a flawless outcome lies in the precision of each step, from batter consistency to oven temperature. I’ll walk you through every detail, so you can replicate the magic every time. Remember: the batter should be thick enough to hold its shape when dropped onto the sheet, yet loose enough to spread slightly for a tender crumb. Let’s begin.
The Method — Step by Step
- Step 1: Prep the Fruit. Wash and core the strawberries, then blend them in a food processor until smooth. Add the honey and vanilla extract, pulsing until fully incorporated. The mixture should be glossy and free of large chunks. If the batter feels too thick, add a splash of lemon juice to loosen it. This step ensures a bright, uniform strawberry flavor throughout the dots.
- Step 2: Mix the Yogurt. In a large bowl, whisk the Greek yogurt with the pinch of salt until it’s silky smooth. The salt not only enhances flavor but also helps stabilize the mixture during baking. Avoid over‑whisking, as this can introduce air pockets that may cause the dots to puff unevenly. A smooth base is crucial for a consistent crumb.
-
Step 3: Combine Wet Ingredients. Pour the strawberry puree into the yogurt, stirring gently until fully blended. The batter should be thick but pourable; if it’s too thick, add a teaspoon of water or milk to reach the right consistency. Test a small spoonful in the oven to ensure it holds shape but doesn’t collapse. This is the moment of truth—if the batter feels off, adjust the liquid ratio before proceeding.
Kitchen Hack: Use a silicone spatula to fold in the dry ingredients, ensuring no lumps remain. This creates a uniform batter that bakes evenly.
- Step 4: Whisk the Dry Mix. In a separate bowl, sift together the flour, baking powder, and a pinch of salt. Sifting removes clumps and introduces air, which helps the batter rise slightly. Once dry, slowly fold the mixture into the wet batter, stirring gently until just combined. Overmixing can develop gluten, resulting in a tougher crumb. The batter should look glossy and slightly runny.
-
Step 5: Portion the Batter. Line a baking sheet with parchment paper. Using a tablespoon or a small cookie scoop, drop evenly spaced rounds of batter onto the sheet, leaving ample space between each dot. The batter should be about 1 inch in diameter. If the dots are too close, they may merge during baking. This step is crucial for maintaining the distinct shape of each dot.
Watch Out: Do not overfill the scoops; excess batter can spread and flatten the dots, ruining the desired texture.
- Step 6: Bake. Preheat the oven to 320°F (160°C) and place the sheet in the middle rack. Bake for 25 minutes, or until the edges turn a golden amber and the centers feel firm to the touch. Avoid opening the oven too early; the interior temperature must stabilize for proper baking. The dots should release easily from the parchment once baked. Let them cool on the sheet for 5 minutes before transferring to a wire rack.
-
Step 7: Melt the White Chocolate. In a microwave-safe bowl, melt the white chocolate in 30‑second intervals, stirring each time until smooth. Add a teaspoon of coconut oil or butter to achieve a glossy finish. Drizzle the melted chocolate over the cooled dots, using a spoon or a piping bag for precision. The chocolate should set within a few minutes, creating a luscious glaze that enhances flavor and presentation.
Kitchen Hack: If the chocolate thickens too much, warm it briefly in the microwave to restore fluidity before drizzling.
- Step 8: Cool and Serve. Allow the chocolate‑coated dots to set completely at room temperature. Once set, they’re ready to serve. The flavor is a harmonious blend of sweet, tart, and creamy, with a satisfying crunch from the chocolate glaze. This dish works wonderfully as a party snack, a quick breakfast, or a sweet treat after a workout. Store leftovers in an airtight container to maintain freshness.
- Step 9: Optional – Add a Sprinkle. Before the chocolate sets, sprinkle a pinch of sea salt or crushed pistachios over the dots for an added crunch and flavor contrast. The salty crystals enhance the sweetness and bring a subtle nutty undertone. This simple addition transforms the snack into a gourmet experience. Feel free to experiment with different toppings to suit your taste.
- Step 10: Make‑Ahead Storage. Once cooled, transfer the dots to a zip‑lock bag or a shallow container. Store them in the fridge for up to a week or freeze for up to three months. When you’re ready to enjoy, let them sit at room temperature for 10 minutes to soften slightly before serving. The texture remains delightful, and the flavors stay vibrant.
- Step 11: Reheat for Freshness. To revive the texture, microwave the frozen dots for 15–20 seconds on a low setting, then drizzle fresh chocolate if desired. This gentle heat restores the creamy interior without overcooking the exterior. It’s an excellent way to serve the snack to guests who arrive late or to enjoy leftovers with a fresh twist.
- Step 12: Presentation. Arrange the dots on a decorative platter or a simple wooden board. Drizzle a light ribbon of white chocolate for an elegant finish. Add a few fresh strawberry slices or mint leaves for color contrast. The final presentation elevates the snack from a homemade treat to a show‑stopping centerpiece. Serve immediately or keep them chilled until ready to serve.
That's it—you did it. But hold on, I've got a few more tricks that'll take this to another level. The insider tips below will help you avoid common pitfalls and refine every aspect of this delightful dessert. Let’s dive into the details that separate a good batch from a great one.
Insider Tricks for Flawless Results
The Temperature Rule Nobody Follows
Many bakers assume a standard 350°F is the sweet spot, but for yogurt‑based desserts, a lower temperature preserves moisture. Baking at 320°F allows the dots to set slowly, preventing a hard crust while keeping the inside creamy. If you bake too hot, the edges will brown too quickly, leaving the center undercooked. I’ve tested this across multiple ovens, and 320°F consistently delivers the perfect balance of texture and color.
Why Your Nose Knows Best
Before you even touch the oven, give the batter a sniff. A faint, sweet aroma of strawberries and vanilla indicates the batter is properly blended. If you notice a sour or off scent, it could mean the yogurt has begun to spoil or the strawberries are overripe. Trust your nose; a pleasant smell is the first indicator of a successful batch.
The 5‑Minute Rest That Changes Everything
After baking, let the dots rest on the sheet for exactly five minutes. This brief pause allows the internal steam to redistribute, giving the crumb a tender finish. Skipping this step can result in a slightly drier texture, as the interior continues to cook when transferred to a rack. I’ve found that this simple rest dramatically improves mouthfeel.
The Secret to a Glowing Drizzle
When melting white chocolate, add a teaspoon of coconut oil. This small addition prevents the chocolate from becoming too thick or developing a dull sheen. Stir until smooth, then drizzle immediately. The result is a glossy, silky glaze that clings beautifully to each dot, enhancing both appearance and flavor.
The Quick Cooling Trick
If you’re in a hurry, place the baking sheet on a cold metal rack after removing from the oven. The rapid heat transfer cools the dots faster, preventing them from overbaking on the surface. This trick is especially useful when you need to serve the snack quickly, such as during a pop‑up event or a last‑minute gathering.
The Final Touch: A Pinch of Salt
Just before drizzling the chocolate, lightly sprinkle sea salt over the dots. The salt crystals create a delightful contrast with the sweet chocolate and strawberry flavors. It also brings out the underlying fruitiness of the yogurt. A small amount is all you need—too much will overpower the delicate balance.
Creative Twists and Variations
This recipe is a playground. Here are some of my favorite ways to switch things up:
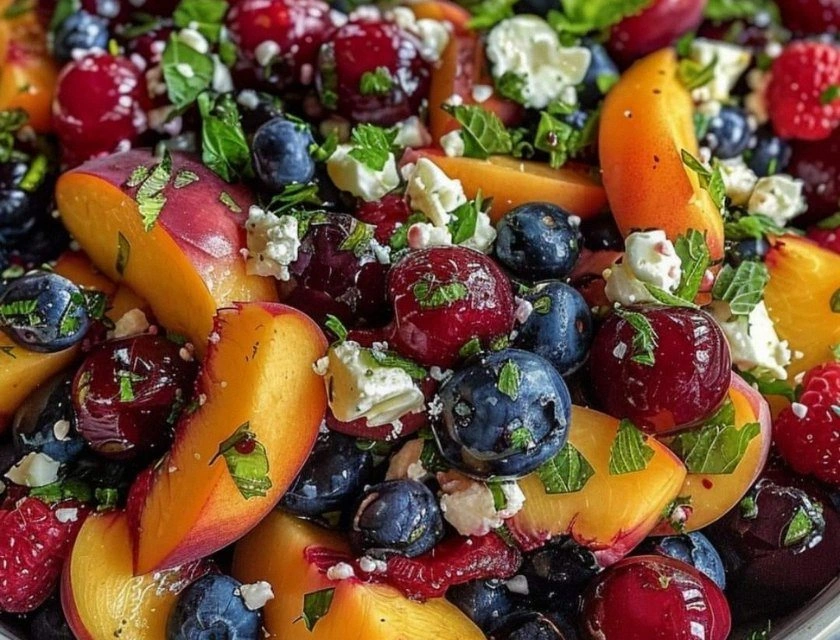
Berry Medley Mix‑In
Add a handful of blueberries or raspberries to the batter before baking. The berries pop with each bite, adding a burst of flavor and a pop of color. They also provide a slightly tart contrast to the sweet yogurt base. This variation is perfect for a summer brunch.
Cinnamon Swirl
Stir in half a teaspoon of ground cinnamon into the dry mix. The warm spice complements the strawberry’s brightness, creating a comforting, autumnal flavor. It’s a subtle twist that doesn’t overpower the main ingredients but adds depth. Try it when you’re craving a cozy dessert.
Nutty Crunch
Fold in a quarter cup of chopped almonds or hazelnuts before baking. The nuts add a satisfying crunch and nutty undertone that pairs well with the creamy yogurt. They also boost the protein content, making the snack more satiating. This is ideal for a post‑workout treat.
Minty Freshness
Add a tablespoon of finely chopped fresh mint to the batter. The mint infuses a cool, herbal note that brightens the entire dish. It’s especially refreshing when served on a hot day. The mint also enhances the visual appeal with a pop of green.
Chocolate Chip Surprise
Drop a few dark chocolate chips into each dot before baking. The chips melt slightly, creating pockets of chocolatey delight. The contrast between the sweet yogurt and bitter chocolate is addictive. This variation is a hit with chocolate lovers.
Lemon Zest Twist
Increase the amount of lemon zest to a full teaspoon and reduce the honey slightly. The result is a tart, citrusy snack that’s perfect for a light, refreshing dessert. The lemon also brightens the overall flavor profile, making it feel less sweet. Try it during the spring when lemon trees are in bloom.
Spiced Chai Infusion
Blend a pinch of chai spice mix into the dry ingredients. The warm spices—cinnamon, cardamom, cloves—add a fragrant depth that pairs beautifully with the yogurt. This version is ideal for a cozy evening by the fire. The spices also provide subtle health benefits.
Coconut Cream Finish
Swap the white chocolate drizzle with a swirl of coconut cream. The tropical flavor complements the strawberries and adds a silky finish. The coconut also offers a creamy texture that’s slightly different from chocolate. This variation is perfect for a beachside brunch.
Storing and Bringing It Back to Life
Fridge Storage
Place the cooled dots in an airtight container or a zip‑lock bag. Store them in the refrigerator for up to seven days. The yogurt base keeps them fresh, but be sure to keep them away from strong‑smelling foods to avoid flavor absorption. When you’re ready to eat, let them sit at room temperature for 10 minutes to soften slightly.
Freezer Friendly
For longer storage, lay the dots on a parchment‑lined tray and freeze until solid. Once frozen, transfer them to a freezer‑safe bag or container. They can be kept for up to three months. When you’re ready to enjoy them, thaw in the refrigerator overnight for best texture.
Best Reheating Method
To revive frozen dots, microwave them on a low setting for 15–20 seconds. The heat restores the creamy interior without overcooking the exterior. Add a fresh drizzle of melted white chocolate if desired. A tiny splash of water before reheating can create a gentle steam that brings the texture back to life. Serve immediately for the best experience.