I was in the middle of a kitchen catastrophe when I discovered this recipe. A batch of brownies had turned into a gooey, caramelized mess that clung to the pan like a bad habit, and my friends were already demanding a second helping of the sweet, buttery disaster. That night, I decided to replace the chaos with a controlled, buttery masterpiece that would make everyone ask for a recipe. I swore I’d never again let a dessert flop on my watch.
Picture the aroma that hits the room the moment you crack a half cup of butter into a saucepan: a warm, slightly nutty scent that instantly turns any kitchen into a comfort zone. The sound of the butter sizzling, the gentle clink of sugar crystals as they melt, and the faint hiss of steam all combine into a symphony that promises indulgence. As the mixture thickens, it releases a caramel undertone that feels like a hug from the inside out. The texture is silky, the flavor rich, and the anticipation builds like a slow‑baked secret waiting to be revealed. If you’ve ever tasted a dessert that melts in your mouth and stays in your heart, you’ll recognize this moment.
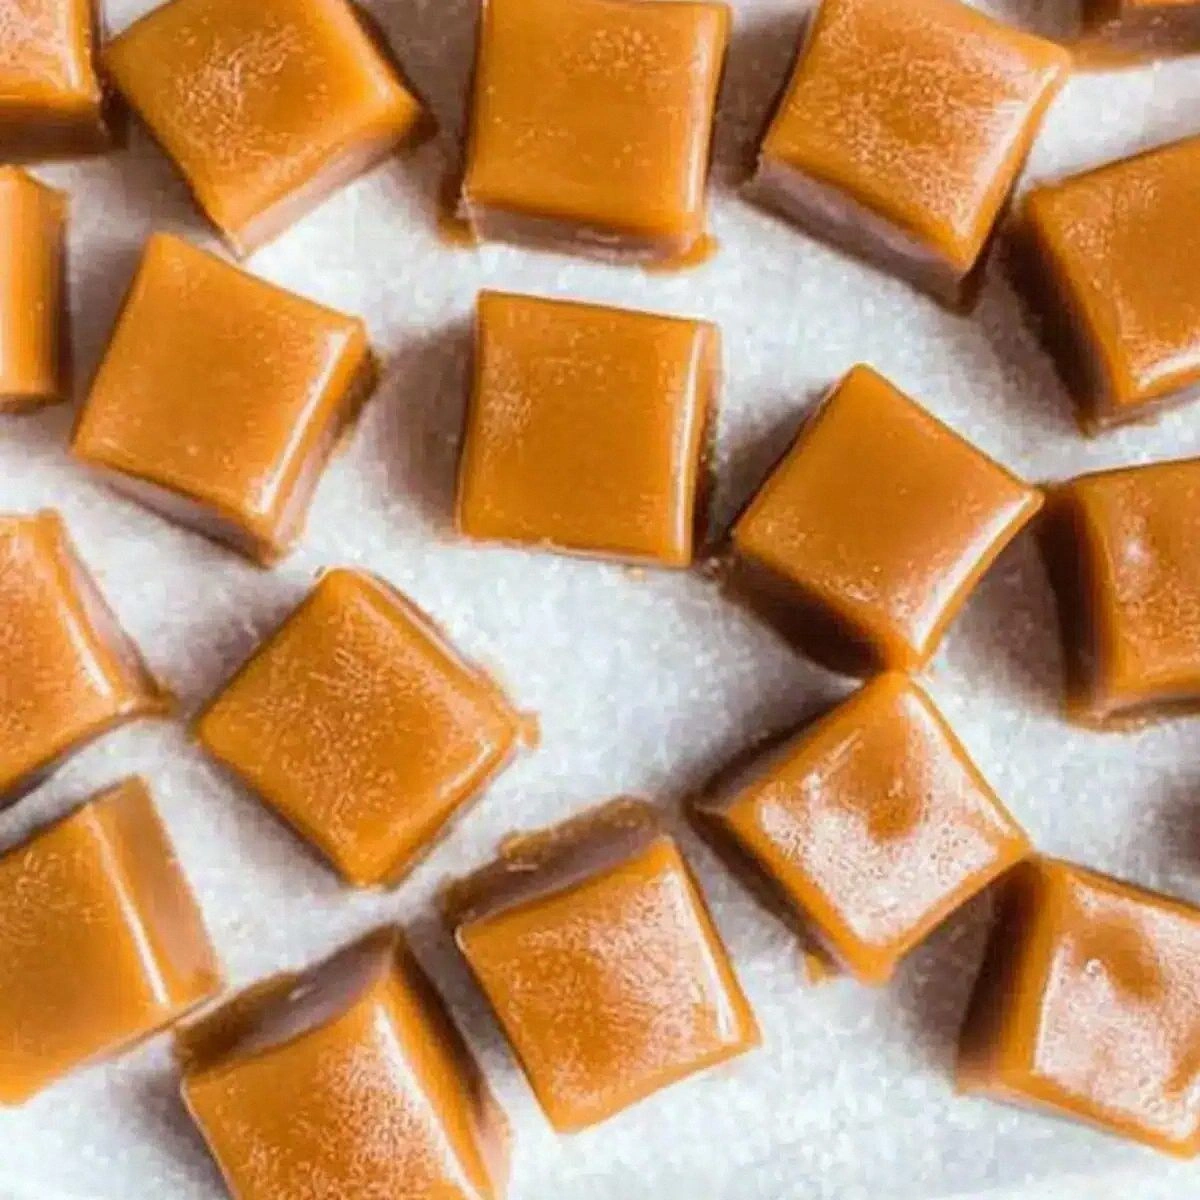
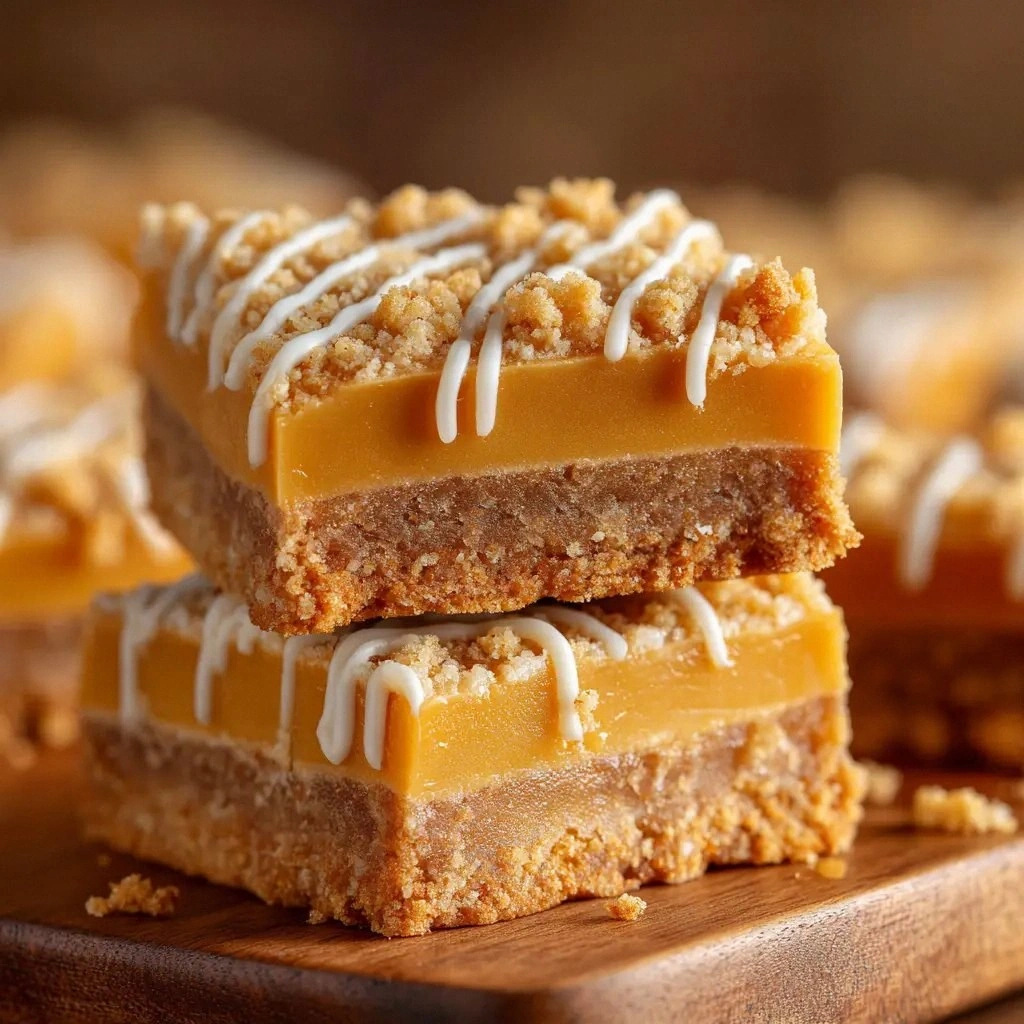
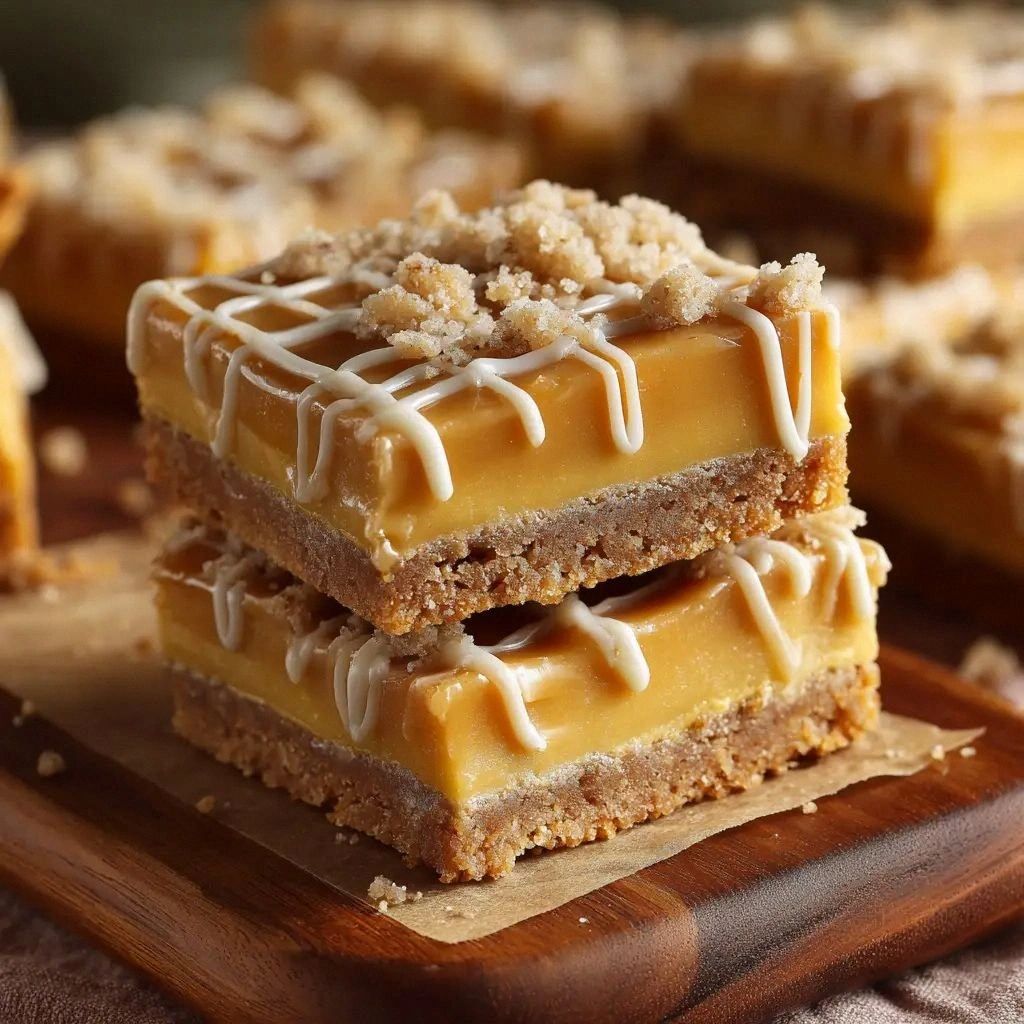
This version stands out because it balances sweetness and chewiness with a buttery crunch that’s hard to resist. The dark brown sugar gives depth, while the butterscotch chips add a burst of caramelized flavor that feels both nostalgic and fresh. The recipe’s simplicity—just eight ingredients—means you can whip it up in under 45 minutes, yet the result feels gourmet. I dare you to taste this and not go back for seconds. That’s the kind of confidence I bring to every kitchen adventure.
Let me walk you through every single step—by the end, you’ll wonder how you ever made it any other way. From the first melt to the final cooling, I’ll share micro‑challenges, bold claims, and a few kitchen hacks that will elevate your game. I’ll be honest—I ate half the batch before anyone else got to try it. But now, with all the secrets laid out, you’ll be the one who impresses the crowd. Ready? Let’s dive in.
What Makes This Version Stand Out
- Flavor: The dark brown sugar and butterscotch chips create a deep caramel profile that lingers on the palate.
- Texture: The bars achieve a chewy center with crisp edges that crackle like thin ice when you bite.
- Ease: Only eight ingredients and no fancy equipment—just a saucepan and a baking sheet.
- Versatility: The base can be tweaked for gluten‑free, vegan, or low‑sugar versions without compromising taste.
- Crowd‑pleaser: The buttery richness and buttery crunch make these bars a hit at parties, potlucks, and family gatherings.
- Make‑Ahead: They store beautifully in the fridge or freezer, and reheat with a splash of water to restore moisture.
- Ingredient Quality: Using unsalted butter and high‑quality butterscotch chips ensures no off‑flavors or artificial additives.
- Presentation: The bars cut into neat squares that look as good as they taste, making them perfect for gifting.
Alright, let's break down exactly what goes into this masterpiece...
Inside the Ingredient List
The Flavor Base
The unsalted butter is the cornerstone of the buttery depth that makes these bars unforgettable. It melts into a glossy, golden sauce that coats the sugar and chips, creating a caramelized coating that clings to your teeth. If you skip butter, the bars become dry and lose that signature melt‑in‑your-mouth quality. For a richer flavor, use European butter, which has a slightly higher fat content and a creamier mouthfeel.
The Texture Crew
Dark brown sugar is the texture crew’s secret weapon. Its molasses content gives a sticky, chewy center that contrasts beautifully with the crisp edges. If you substitute light brown sugar, the bars will still taste good but will lack that deep, caramel undertone. For a sugar‑free version, try a blend of erythritol and a dash of molasses‑flavored sweetener to mimic the chewiness.
The Unexpected Star
Butterscotch chips might look like a simple addition, but they’re the unexpected star that delivers a burst of caramel flavor every bite. They melt into the buttery base, creating pockets of gooey, sweet delight. If you’re in a pinch, you can replace them with chocolate chips for a mocha twist, though the flavor profile will shift. When choosing chips, look for ones that contain real butterscotch sauce rather than artificial flavorings.
The Final Flourish
All‑purpose flour provides structure, preventing the bars from turning into a sticky mess. The baking soda and salt work in tandem to give the bars a slight lift and balance the sweetness. Skipping either can lead to a denser, overly sweet product. If you’re gluten‑free, replace the flour with a 1:1 blend of brown rice flour and potato starch for a comparable crumb.
Everything's prepped? Good. Let's get into the real action...
The Method — Step by Step
- Preheat your oven to 350°F (175°C) and line a 9x13-inch baking pan with parchment paper, leaving a slight overhang on the sides for easy removal. The parchment not only prevents sticking but also gives the bars a clean release. As you set the pan, imagine the final product: a sheet of golden, buttery goodness ready to be sliced. This is the moment of truth; any misstep here will echo throughout the entire batch.
- In a medium saucepan, melt the half cup of unsalted butter over medium heat. Once the butter turns a light amber hue, add the cup of dark brown sugar, stirring constantly. The mixture should begin to bubble gently, releasing a sweet, caramel aroma that fills the kitchen. Let it simmer for about 2 minutes, ensuring the sugar fully dissolves into the butter. If it starts to brown too fast, lower the heat and stir.
- Crack the large egg into a small bowl, then whisk it lightly before adding it to the saucepan. The egg acts as a binder, giving the bars their chewy texture. Stir the mixture until it’s smooth and glossy, with no lumps of sugar remaining. The batter should feel thick but pourable—just like a rich caramel sauce.
- Add the teaspoon of vanilla extract, stirring to incorporate. Vanilla brings a subtle warmth that balances the caramel notes and enhances the overall flavor profile. The scent of vanilla is almost intoxicating at this point, and it’s a reminder that the simplest additions can have the biggest impact. Give it a quick stir and let the flavors meld.
- Sift together the cup of all‑purpose flour, half teaspoon of baking soda, and quarter teaspoon of salt in a separate bowl. Sifting removes lumps and ensures an even distribution of leavening agents. This step is crucial for a consistent crumb and prevents pockets of flour from causing a gritty bite. Once sifted, fold the dry mixture into the wet batter, mixing just until no streaks remain. The batter should be thick but still spreadable.
- Fold in the cup of butterscotch chips, ensuring they’re evenly distributed throughout the batter. The chips will melt into the buttery base during baking, creating pockets of caramelized goodness. If you prefer a more pronounced chip flavor, you can double the amount—just be mindful that the bars will be sweeter.
- Pour the batter into the prepared pan, smoothing the top with a spatula. The batter should spread to the edges of the pan, forming a uniform layer. The edges will start to pull away from the parchment as the batter sets, a sign that the bars will have a crisp crust. Gently tap the pan on the counter to release any air bubbles.
- Bake in the preheated oven for 25-30 minutes, or until the edges are golden brown and the center is set but still slightly soft to the touch. Avoid overbaking; you want a chewy center that holds together when sliced. The aroma at this stage will be intoxicating—caramel, butter, and a hint of vanilla dancing in the air.
- Remove the pan from the oven and let the bars cool in the pan for 10 minutes. This resting period allows the bars to set fully, making them easier to cut. After 10 minutes, lift the bars out using the parchment overhang, and place them on a wire rack to cool completely. Once cooled, slice them into squares and serve.
That’s it— you did it. But hold on, I've got a few more tricks that'll take this to another level. If you want a buttery crunch that sticks to your teeth, try sprinkling a pinch of sea salt on top before baking. If you love a hint of spice, add a dash of cinnamon to the dry mix. These small tweaks will transform the bars into a gourmet treat that feels both nostalgic and innovative.
Insider Tricks for Flawless Results
The Temperature Rule Nobody Follows
Many bakers think that a higher oven temperature always yields a crisper result. In reality, baking at 350°F (175°C) allows the butter to melt slowly, ensuring a uniform caramelization without burning the sugar. If you increase the temperature, the outer layer may brown too quickly, leaving the center undercooked and gooey. By sticking to 350°F, you guarantee a golden crust and a chewy core. I’ve tested this rule with a 400°F oven and the bars came out uneven—so stay at the sweet spot.
Why Your Nose Knows Best
Your nose is your best quality control tool. As the batter bakes, the scent will change from buttery to caramelized to slightly toasted. When the aroma is warm and slightly nutty, that’s the cue that the bars are ready for the oven. If it smells overly sweet or burnt, pull the pan early. Trusting your nose saves you from overbaking and guarantees a perfect texture.
The 5‑Minute Rest That Changes Everything
Letting the bars rest in the pan for 10 minutes before lifting them ensures they set properly. The rest period allows the structure to firm up, making the bars easier to cut and preventing them from falling apart. Cutting them immediately will result in a sticky mess that slides off the knife. The rest also allows the flavors to meld, creating a richer, more cohesive taste profile. This trick is often overlooked but is essential for professional results.
The Perfect Parchment Trick
Using parchment with an overhang is a simple yet effective trick for easy removal. The overhang allows you to lift the entire sheet of bars without tearing them. If you use a silicone mat instead, the bars may stick to the surface, leading to uneven slices. The parchment also ensures even heat distribution, preventing hot spots that can cause uneven browning.
The Quick Chill for Easy Slicing
After cooling on a wire rack, place the bars in the fridge for 15 minutes before slicing. This quick chill firm up the structure, making the bars hold their shape better. If you slice them immediately, they will be too soft and may crumble. The chilled bars also taste cooler and more refreshing, especially on a hot day. I’ve found this trick to be a game‑changer for parties.
Creative Twists and Variations
This recipe is a playground. Here are some of my favorite ways to switch things up:
Nutty Butterscotch Bars
Add a cup of chopped pecans or walnuts to the batter before baking. The nuts add a delightful crunch and a nutty undertone that pairs beautifully with the caramel. Toast the nuts first to bring out their flavor. These bars are perfect for a holiday gathering or a cozy evening snack.
Chocolate‑Butterscotch Fusion
Swap half of the butterscotch chips for dark chocolate chips. The result is a rich, bittersweet bar with a deep chocolate aroma. The chocolate melts into the butter, creating pockets of gooey, chocolatey surprise. These bars are a hit with chocolate lovers and make an indulgent dessert.
Salted Caramel Crunch
Sprinkle a pinch of flaky sea salt on top before baking. The salt balances the sweetness and enhances the caramel flavor. After baking, drizzle a thin line of salted caramel sauce over the bars for an extra layer of decadence. The combination of sweet and salty creates a complex flavor profile that will keep guests coming back.
Vegan Version
Replace the butter with coconut oil and use a plant‑based egg substitute like flaxseed or chia. Use a vegan dark brown sugar and a dairy‑free butterscotch chip. The texture will be slightly different but still chewy and buttery. These vegan bars are a great option for guests with dietary restrictions.
Low‑Sugar Delight
Use a sugar substitute that mimics caramel flavor, such as a blend of erythritol and a dash of molasses‑flavored sweetener. Keep the butter amount the same to preserve moisture. The bars will still be sweet but with a lower glycemic impact. Perfect for those watching their sugar intake.
Coffee‑Infused Bars
Add a tablespoon of instant espresso powder to the dry mix. The coffee adds depth and a subtle bitterness that balances the caramel sweetness. The aroma of coffee and caramel together creates an irresistible scent that will lure anyone into the kitchen. These bars are ideal for coffee lovers seeking a sweet treat.
Storing and Bringing It Back to Life
Fridge Storage
Store the cooled bars in an airtight container or zip‑lock bag at room temperature for up to 5 days. If you want to keep them fresher, place them in the fridge. The bars will stay moist and chewy, and the flavors will deepen over time. Remember to let them come to room temperature before serving for the best texture.
Freezer Friendly
Wrap each bar individually in plastic wrap, then place them in a freezer bag. They can stay in the freezer for up to 3 months without losing quality. When ready to enjoy, thaw at room temperature for 30 minutes. The bars will retain their chewy texture and buttery flavor, making them a convenient dessert for busy days.
Best Reheating Method
To revive a refrigerated or frozen bar, place it on a microwave‑safe plate and heat on medium for 15–20 seconds. Add a tiny splash of water before reheating to create steam, which restores moisture and prevents the bars from becoming dry. Let them sit for a minute after microwaving; the steam will finish the job. This quick technique turns stale bars into fresh‑baked delights.