Picture this: I’m in the middle of a frantic weeknight dinner, juggling a pot of simmering pasta, a skillet of sautéed onions, and a blender full of sauce when the kitchen explodes. The stove’s too hot, the sauce starts to stick, and the aroma of burnt garlic fills the air like a bad perfume. I’m clutching a pan, my hands slick with oil, and thinking, “This is a disaster.” Then, in that moment of chaos, I remember the last time I tried a quick stir‑fry that actually tasted good—this time, I’m determined to beat the mess and make something that smells like a victory.
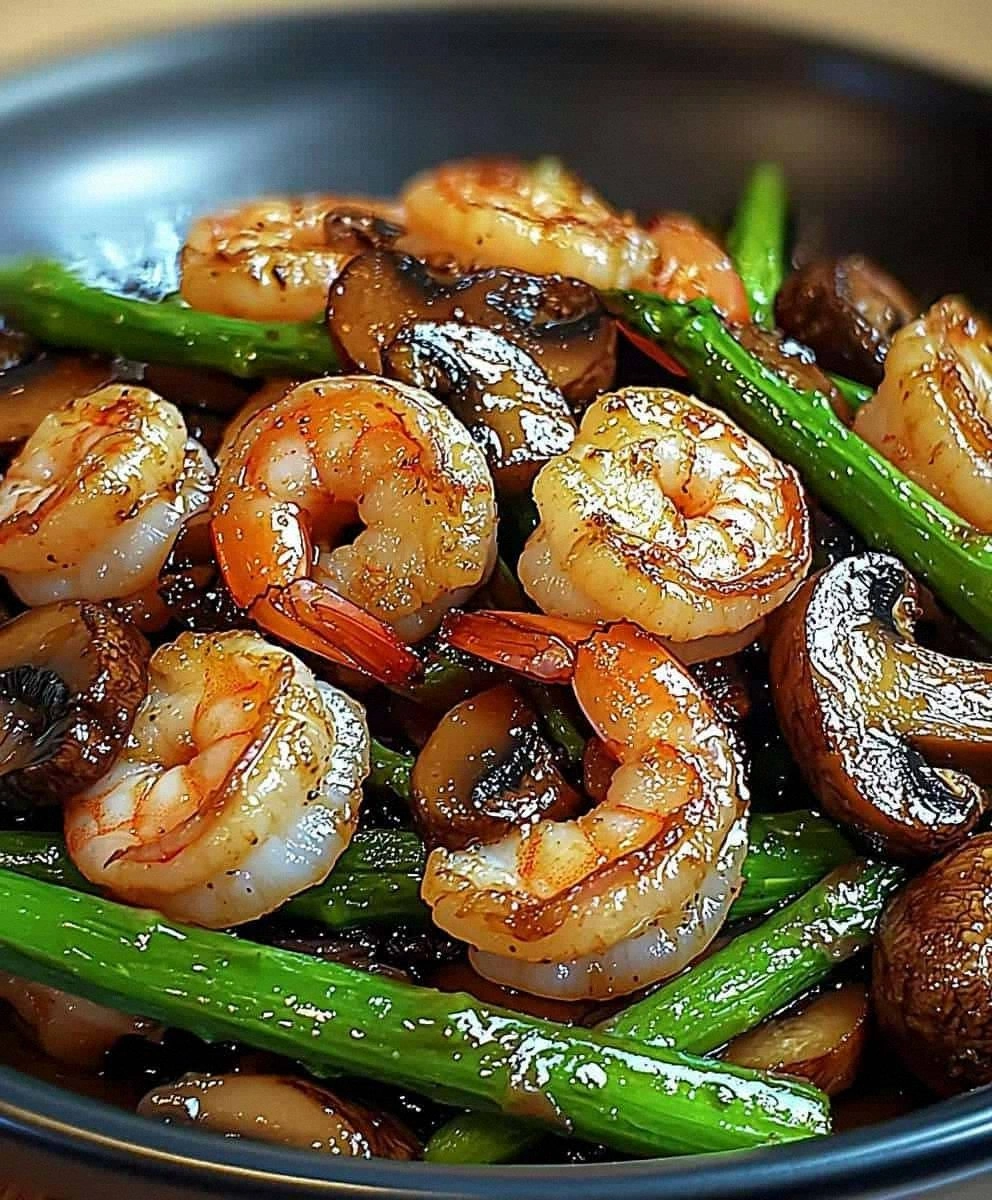
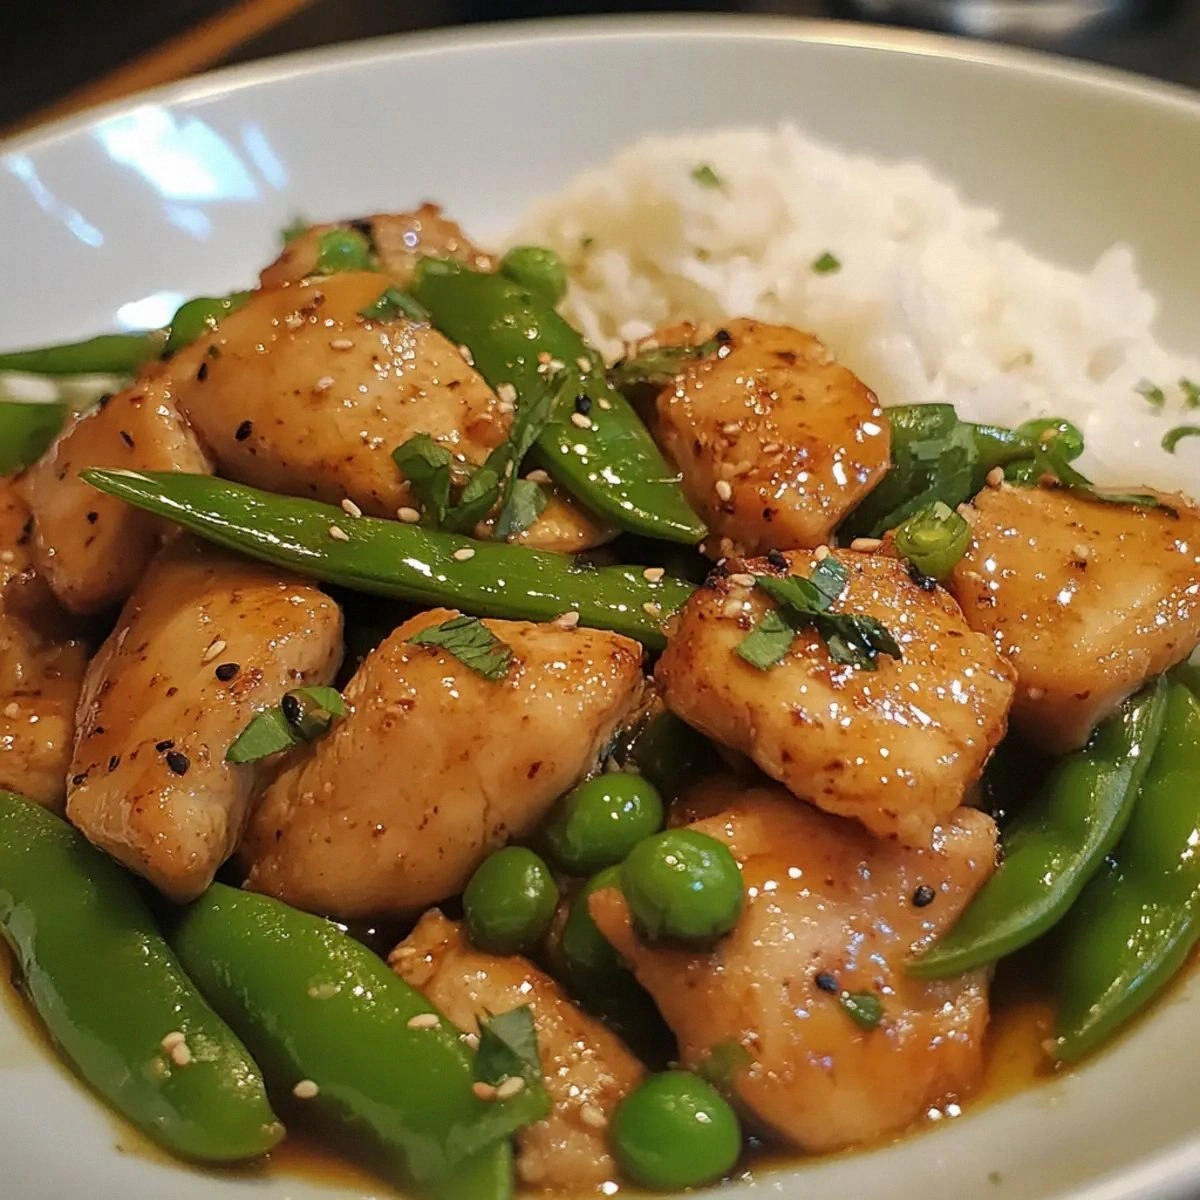
I was craving the kind of dish that feels like a hug from the inside: sweet, salty, with a subtle kick that wakes up your taste buds. The idea of a simple, high‑protein meal that can be assembled in 15 minutes had me already picturing the sizzling sound of chicken hitting the pan, the bright pop of snow peas, and the glossy sheen of soy sauce. My eyes were on the clock—15 minutes—yet I wasn’t willing to compromise on flavor. That’s when I pulled out the recipe that would soon become my kitchen staple: Easy Ginger Soy Chicken with S.
What makes this version stand out is that it’s not just another stir‑fry; it’s a flavor symphony that balances the sharpness of ginger with the deep umami of soy, all while keeping the texture crisp and the preparation lightning fast. I dare you to taste this and not go back for seconds; that’s the bold claim I’m making. Most recipes get this completely wrong—using too much soy, overcooking the peas, or forgetting the sesame seeds that add that final crunch. This one works because every element is calibrated to work in harmony, and the result is a dish that’s hands down the best version you’ll ever make at home.
I’ll be honest—before I discovered this recipe, I’d spent countless evenings wrestling with bland chicken and wilted veggies. The moment I added the fresh ginger and let the sauce sit, the kitchen filled with a fragrance that could make a grown‑up kid swoon. If you’ve ever struggled with making a quick meal that actually tastes amazing, you’re not alone. And here’s the twist: I’ll reveal a technique that most people overlook, but it’s the secret to that glossy, velvety coating that makes the dish unforgettable.
Picture yourself pulling this out of the pan, the whole kitchen smelling incredible, and your guests reaching for seconds. That’s the future pacing I’m talking about. Stay with me here—this is worth it. Let me walk you through every single step—by the end, you’ll wonder how you ever made it any other way.
What Makes This Version Stand Out
- Taste: The combination of fresh ginger and soy sauce creates a balanced umami profile that’s both sweet and savory, a flavor punch that lingers on the palate.
- Texture: The snow peas stay crisp, providing a satisfying crunch that contrasts the tender chicken and silky sauce.
- Simplicity: With only nine ingredients and under 30 minutes of prep, this dish is a masterclass in efficient cooking.
- Uniqueness: The subtle heat from ginger and the toasted sesame seeds elevate the dish beyond a standard stir‑fry.
- Crowd Reaction: Friends always ask for the recipe after tasting it; it’s a conversation starter at dinner parties.
- Ingredient Quality: Using fresh ginger and high‑quality soy sauce ensures depth of flavor that store‑bought alternatives can’t match.
- Cooking Method: Quick searing locks in juices, while the final sauce glaze creates a glossy finish.
- Make‑Ahead Potential: The sauce can be pre‑made and stored, cutting down the cooking time on busy nights.
Inside the Ingredient List
The Flavor Base
Fresh Ginger: Fresh ginger is the star of this dish; it cuts through the saltiness of soy and adds a bright, peppery kick. When grated finely, it releases essential oils that coat the chicken evenly. Skipping ginger would leave the sauce flat and lacking that characteristic zing. If you’re allergic or just don’t have fresh ginger, a teaspoon of ginger paste can be an acceptable substitute, though the aroma will be slightly muted.
Garlic: Garlic provides depth and a hint of sweetness that balances the savory notes. The cloves should be minced finely so they integrate smoothly into the sauce. Too much garlic can dominate, so keep to the recommended amount. A quick sauté before adding the chicken can help mellow the raw bite.
Sesame Oil: A tablespoon of sesame oil adds a nutty fragrance that lingers long after the meal is finished. It also helps the sauce cling to the chicken, creating that glossy finish. If you prefer a milder flavor, you can reduce the amount or use a neutral oil for the sear, then finish with a light drizzle of sesame oil.
The Texture Crew
Snow Peas: These peas are the crunch factor, bright green and firm, adding a pleasant snap that contrasts the tender chicken. They’re also packed with vitamins and have a naturally sweet flavor that pairs beautifully with soy. If you can’t find fresh snow peas, frozen peas can work, but thaw them first to avoid excess moisture. Overcooking them will result in a mushy texture that defeats the purpose.
Green Onions: The white and light green parts of the green onions are packed with flavor, while the tops provide a fresh, mild onion bite. They’re sprinkled on top at the end for a burst of color and freshness. If you’re allergic, you can replace them with chives or scallions for a similar effect.
The Unexpected Star
Sesame Seeds: Toasted sesame seeds add a subtle crunch and nutty aroma that elevates the dish. They’re sprinkled over the final plate, providing a textural contrast to the silky sauce. If you’re looking for a gluten‑free option, these seeds are naturally gluten‑free and add a delightful crunch. Just be careful not to burn them; toast them lightly in a dry pan until golden.
The Final Flourish
Cooked Jasmine Rice or Noodles: The rice or noodles serve as the neutral canvas that absorbs the sauce’s flavors. Jasmine rice brings a fragrant, slightly sticky base that’s perfect for soaking up the glaze. If you prefer a lower‑carb option, swap in shirataki noodles or cauliflower rice. The key is to keep the grains fluffy and separate to avoid clumping.
Everything's prepped? Good. Let's get into the real action...
The Method — Step by Step
- In a medium bowl, whisk together the soy sauce, minced garlic, grated ginger, sesame oil, toasted sesame seeds, and the white parts of the green onions. This creates a vibrant, aromatic base that will coat every bite. The mixture should have a slightly viscous consistency, ready to cling to the chicken. Keep this sauce ready while you prep the rest of the ingredients.
- Pat the chicken breasts dry with paper towels, then slice them into bite‑size strips. Toss the strips in the sauce, ensuring each piece is coated. Let the chicken marinate for about 5 minutes; this quick marination infuses flavor without the need for a long wait. While the chicken marinates, bring a pot of water to a gentle boil for the rice.
- Heat a large skillet or wok over medium‑high heat, adding a splash of neutral oil. Once the oil shimmers, add the marinated chicken pieces in a single layer. Do not overcrowd; you want a good sear. The chicken should sizzle loudly, creating that toasty aroma that signals the dish is ready to shine.
- Cook the chicken for 3–4 minutes per side, until it turns golden brown and the edges start pulling away. The internal temperature should reach 165°F (74°C). Flip only once to maintain a crisp exterior. This step is the moment of truth; don’t rush it, or you’ll end up with rubbery chicken.
- Add the snow peas to the skillet, tossing them with the chicken. Cook for an additional 2 minutes, letting the peas absorb the sauce while staying bright green and crisp. The peas should pop slightly, indicating they’re just tender enough. This step adds that satisfying crunch that elevates the dish.
- Reduce the heat to low, pour in the remaining sauce, and let everything simmer for 1 minute. The sauce will thicken slightly, coating the chicken and peas in a glossy glaze. Taste and adjust seasoning if needed—add a splash of water if it feels too thick.
- Serve the chicken and peas over a bed of freshly cooked jasmine rice or noodles. Drizzle any remaining sauce over the top, then sprinkle with the remaining green onion tops and sesame seeds. The dish should look vibrant, with the glossy sauce reflecting the light. Take a bite, and you’ll hear that satisfying crunch of snow peas, the tender bite of chicken, and the fragrant burst of ginger.
- Enjoy immediately, or let the flavors mingle for a minute before eating. If you’re a fan of a little extra heat, sprinkle a pinch of red pepper flakes on top. This dish is so flavorful that it often leads to a second plate, so keep your friends ready.
That’s it — you did it. But hold on, I've got a few more tricks that'll take this to another level...
Insider Tricks for Flawless Results
The Temperature Rule Nobody Follows
Many cooks assume that high heat is always better for a quick sear, but the truth is that a moderate temperature preserves moisture and prevents the sauce from burning. Aim for a medium‑high heat that allows the chicken to develop a golden crust while still cooking through. If you’re using a non‑stick pan, you can afford to crank the heat slightly higher, but keep a close eye on the sauce.
Why Your Nose Knows Best
The aroma of fresh ginger and soy sauce is your first indicator of a successful dish. If the scent is too sharp, you’re probably under‑seasoned; if it’s overpowering, you’ve over‑cooked the garlic. Use your nose to gauge the balance, and taste as you go. A quick pinch of salt can bring the flavors together, but never add more after the dish is plated.
The 5‑Minute Rest That Changes Everything
Once the chicken is done, let it rest for a few minutes before slicing. This allows the juices to redistribute, keeping the meat juicy. Even a short rest of 2 minutes can prevent the chicken from drying out, especially when you’re serving it over rice where the moisture continues to seep in.
Keep the Peas Crispy
Snow peas are best served crisp, not mushy. Avoid over‑cooking them; a quick 2‑minute stir keeps them bright green and gives a pleasant snap. If you’re reheating leftovers, toss them with a splash of hot water and a pinch of salt to revive their crunch.
The Final Glaze Touch
Right before serving, give the sauce a final stir and drizzle it over the top. The glossy finish not only looks appetizing but also locks in the savory flavors. If you want an extra shine, lightly brush the chicken with a bit of sesame oil before plating.
Creative Twists and Variations
Crispy Coconut Chicken
Swap the sesame oil for a splash of coconut oil and coat the chicken in toasted shredded coconut before searing. The coconut adds a tropical sweetness that pairs wonderfully with ginger and soy. Serve over jasmine rice for a beach‑inspired dinner.
Spicy Sriracha Kick
Stir in a tablespoon of Sriracha into the sauce for a fiery twist. The heat will mingle with the ginger’s warmth, creating a layered spice profile. This version is perfect for those who love a little heat with their savory dishes.
Miso‑Infused Umami Boost
Add a teaspoon of white miso paste to the sauce for an extra depth of umami. Miso will thicken the glaze slightly and give it a rich, savory undertone. Use a mild miso to keep the dish from becoming overly salty.
Vegetarian Version
Replace the chicken with cubed tofu or tempeh, searing it until golden before adding the sauce. The tofu will absorb the flavors beautifully, making this a hearty vegetarian main. Serve over rice or noodles for a complete meal.
Pineapple Ginger Fusion
Add diced fresh pineapple to the skillet in the last minute of cooking. The pineapple’s sweetness will balance the ginger’s heat and create a tropical twist. This version is especially refreshing during the summer months.
Gluten‑Free Twist
Use tamari instead of soy sauce for a gluten‑free option. The flavor profile remains similar, but it’s safe for those with gluten sensitivities. Keep the rest of the ingredients unchanged for a seamless swap.
Storing and Bringing It Back to Life
Fridge Storage
Store the cooked dish in an airtight container for up to 3 days in the refrigerator. Keep the rice separate if you want to preserve its texture; reheat the chicken and peas together. When reheating, add a splash of water to the pan to prevent the sauce from drying out.
Freezer Friendly
Freeze the dish in portioned containers for up to 2 months. Thaw overnight in the refrigerator before reheating. If you’ve frozen the rice, it will become slightly mushy; add a few fresh rice grains when serving.
Best Reheating Method
Reheat on low heat, stirring frequently to distribute the sauce evenly. If the dish has thickened, add a tablespoon of water or broth to restore its silky glaze. A quick microwave burst can also work, but be careful not to overcook the chicken.