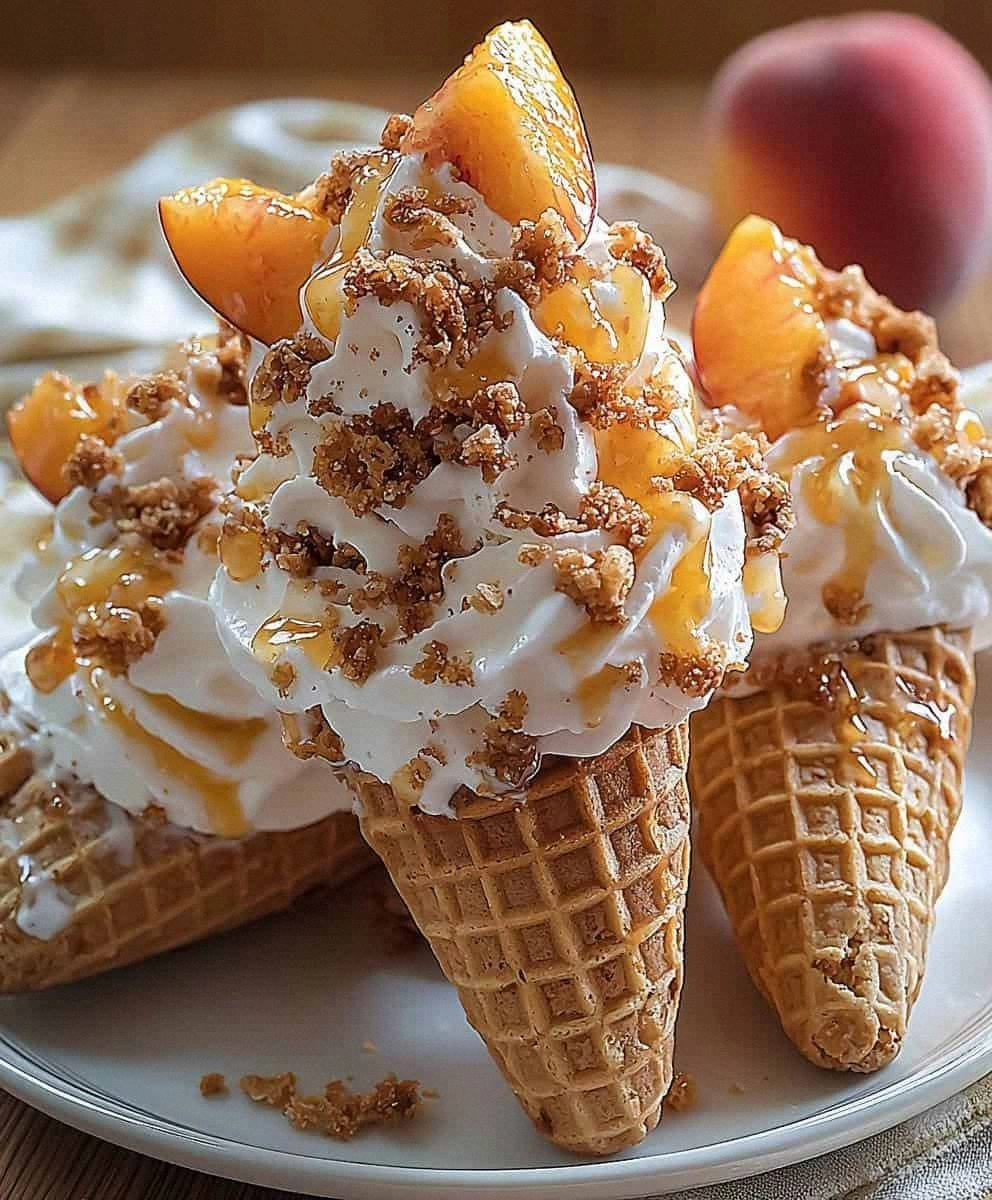
I’ll be honest — I ate half the batch before anyone else got to try it, and that was only because I was terrified that the next batch would be any less glorious. It all started on a rainy Tuesday when I was trying to salvage a busted batch of caramel that had turned into a sticky mess that clung to the pan like a bad breakup. I stared at the caramel, feeling the heat on my fingertips, and thought, “What if I could give this classic a kick that makes it unforgettable?” That thought turned into a dare: I challenged myself to create a caramel that could walk the line between sweet comfort and a daring spice that makes you gasp for breath. The result? Fireball Whiskey Caramels that are hands down the best version you’ll ever make at home.
Picture yourself pulling a tray of glossy, amber squares out of the oven, the whole kitchen smelling like a cinnamon‑laden candy shop that just got a splash of bourbon. The scent is a heady mix of caramelized sugar, buttery richness, and that unmistakable warm cinnamon heat that makes you feel like you’re wrapped in a cozy blanket. When you bite into one, the first thing you notice is a buttery chew that gives way to a silky, buttery melt, followed by a burst of cinnamon‑spiced whiskey that tingles your palate like fireworks on the Fourth of July. The texture is smooth but firm enough to hold its shape, and the finish is a lingering warmth that makes you want to reach for another before the first one is even fully gone. That is the magic we’re after, and I dare you to taste this and not go back for seconds.
Most recipes get this completely wrong. They either skimp on the butter, leaving the caramel dry and crumbly, or they drown the flavor with too much corn syrup, resulting in a rubbery, lifeless candy that never truly satisfies. Here’s what actually works: a precise balance of brown sugar for depth, sweetened condensed milk for that creamy body, and a splash of Fireball whiskey that brings the heat without overwhelming the sweet base. I’ve also added a pinch of salt to cut through the sweetness and a whisper of vanilla to round everything out, creating a symphony of flavors that dance together in perfect harmony. This isn’t just a recipe; it’s a science experiment, a love story, and a party trick all rolled into one.
Let me walk you through every single step — by the end, you’ll wonder how you ever made caramel any other way. Okay, ready for the game‑changer? This next part? Pure magic. We’ll start with the foundation, move through the technique that guarantees a flawless texture, and finish with the finishing touches that make these caramels unforgettable. Stay with me here — this is worth it.
What Makes This Version Stand Out
- Flavor Fusion: The marriage of deep brown sugar and Fireball whiskey creates a sweet‑spicy profile that’s both comforting and exhilarating.
- Silky Texture: The sweetened condensed milk and butter combine to give the caramel a buttery melt that’s smoother than silk.
- Easy Scaling: Every ingredient can be scaled up or down without compromising the chemistry, making batch‑making a breeze.
- Ingredient Simplicity: No exotic spices or hard‑to‑find items; just pantry staples and a bottle of Fireball.
- Show‑Stopping Presentation: The glossy finish and the subtle caramel‑gold hue make these look as good as they taste.
- Crowd Reaction: Guests can’t stop talking about the “kick” — it’s the perfect conversation starter at parties.
- Make‑Ahead Power: These caramels keep for weeks, and the flavor actually mellows and improves over time.
- Versatile Use: Great on their own, chopped into ice cream, or as a decadent topping for coffee.
Inside the Ingredient List
The Flavor Base
Brown sugar is the heart of this caramel, providing that deep molasses richness you crave. Its moisture content ensures the caramel stays soft, while the caramelized notes add a subtle bitterness that balances the sweetness. If you swap it for white sugar, you’ll lose that complex flavor and end up with a one‑dimensional candy. For the best results, choose a dark, robust brown sugar and sift it lightly to avoid clumps.
The Texture Crew
Sweetened condensed milk is the secret weapon that turns a simple caramel into a velvety, buttery masterpiece. Its high sugar concentration prevents crystallization, giving the candy that smooth, glossy finish. Butter adds richness and a buttery mouthfeel that makes each bite melt like a dream. If you’re looking for a dairy‑free version, try coconut cream, but expect a slightly different flavor profile.
The Unexpected Star
Fireball whiskey is the spice element that makes these caramels unforgettable. The cinnamon‑infused whiskey brings a warm, lingering heat that pairs perfectly with the sweet base, creating a contrast that’s both comforting and exciting. Use a good quality Fireball; cheaper versions can taste harsh and ruin the balance. If you’re not a fan of alcohol, substitute with a cinnamon‑spiced simple syrup, but the depth will be missing.
The Final Flourish
A pinch of salt is the unsung hero that cuts through the sweetness and amplifies every other flavor. Vanilla extract adds a fragrant, floral note that rounds out the profile, while the wax paper makes cleanup a breeze and prevents the caramels from sticking to the tray. If you can’t find wax paper, parchment works just as well, but the glossy finish might be slightly less pristine.
Everything's prepped? Good. Let's get into the real action…

The Method — Step by Step
Gather all your ingredients and line an 8×8‑inch baking pan with wax paper, allowing the edges to overhang for easy removal later. This step might sound trivial, but a well‑lined pan prevents the caramels from sticking and makes the final cut clean and professional. I always double‑check that the wax paper is smooth and free of wrinkles; any air pockets can cause uneven cooling.
Kitchen Hack: Trim the wax paper to the exact size of your pan, then lightly oil the surface to ensure the caramel releases with a single pull.In a heavy‑bottomed saucepan, melt 1 cup of butter over medium heat until it foams, then add 2.25 cups of brown sugar. Stir constantly with a wooden spoon; the sugar will dissolve and the mixture will begin to bubble. That sizzle when it hits the pan? Absolute perfection. Keep the heat steady—too high and you’ll scorch the sugar, too low and it won’t caramelize properly.
Once the sugar is fully dissolved, pour in the can of sweetened condensed milk and 1 cup of corn syrup. The mixture will thicken quickly and start to turn a deep amber hue. This is the moment of truth: the caramel should have a glossy sheen and a faint buttery aroma. If you notice any grainy texture, lower the heat and keep stirring; you’re still on track.
Add 1 teaspoon of salt and 1 teaspoon of vanilla extract, then give the pot a good stir. The salt will cut through the sweetness, while the vanilla adds a subtle floral note that elevates the whole batch. At this point, the caramel should be thick enough to coat the back of a spoon without dripping.
Turn off the heat and carefully stir in 0.5 cup of Fireball whiskey. The mixture will bubble up vigorously—don’t be alarmed; this is normal. The alcohol will evaporate slightly, leaving behind that signature cinnamon kick. If you’re nervous about the flame, let the caramel sit for a minute before adding the whiskey to avoid any flare‑ups.
Watch Out: Adding the whiskey while the mixture is too hot can cause a sudden burst of steam. Reduce the temperature slightly before pouring.Return the saucepan to low heat for an additional 2‑3 minutes, stirring constantly. This brief re‑heat helps the whiskey integrate fully and ensures the caramel reaches the perfect set point. You’ll notice the edges of the pan start to pull away slightly—that’s a visual cue that the caramel is ready.
Immediately pour the hot caramel into the prepared pan, spreading it evenly with a spatula. The surface should be smooth and glossy; if you see any bubbles, gently tap the pan on the counter to release them. Let the caramel sit at room temperature for about 10 minutes, then transfer the pan to the refrigerator for a full 2‑hour chill.
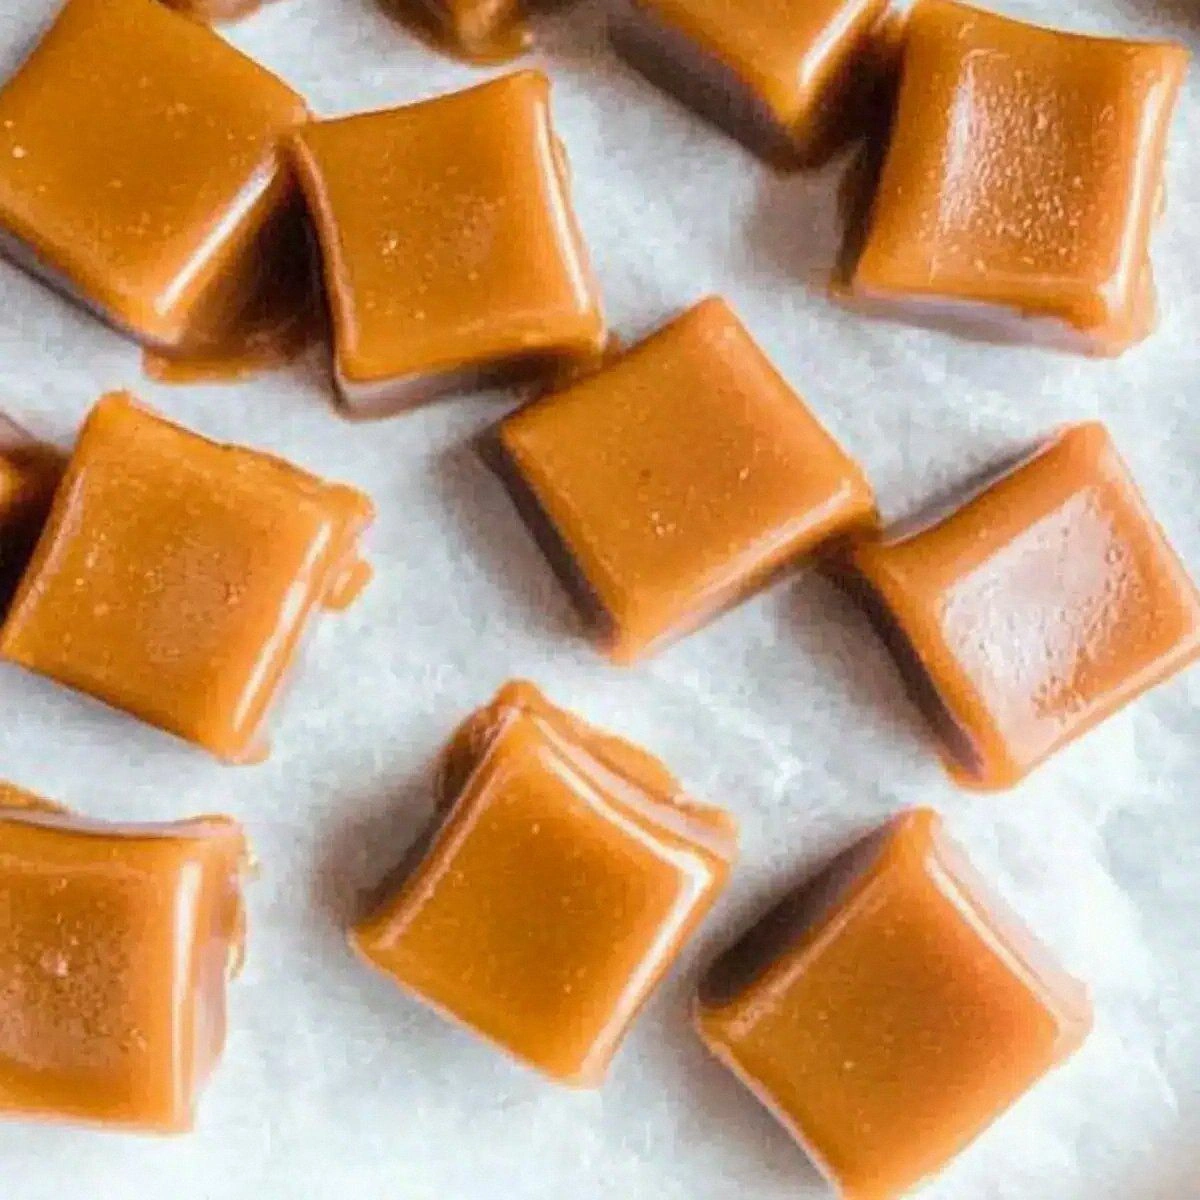
Kitchen Hack: Place the pan on a cooling rack to allow air to circulate, preventing condensation on the surface.Once fully set, lift the caramel out using the wax paper overhang and place it on a cutting board. Using a sharp, warm knife (dip the blade in hot water and wipe dry), cut the slab into bite‑size squares. The cuts should be clean; if they stick, re‑warm the knife briefly. Finally, wrap each caramel in a small piece of wax paper or store them in an airtight container.
That's it — you did it. But hold on, I've got a few more tricks that'll take this to another level…
Insider Tricks for Flawless Results
The Temperature Rule Nobody Follows
Professional candy makers swear by a precise temperature range (250‑260°F) for perfect set. Use an instant‑read thermometer and aim for the low end if you prefer a softer chew, or the high end for a firmer bite. I once tried to eyeball it and ended up with a batch that was too soft, turning into a sticky mess. Trust the thermometer; it’s the difference between “meh” and “wow.”
Why Your Nose Knows Best
Your sense of smell is a reliable indicator of caramel readiness. When the mixture starts to emit a deep, nutty aroma, you’re nearing the perfect stage. If you smell burnt sugar, you’ve gone too far. I’ve saved many a batch by pulling it off the heat the moment that caramel scent hits my kitchen.
The 5‑Minute Rest That Changes Everything
After you pour the caramel into the pan, let it sit uncovered for exactly five minutes before refrigerating. This short rest allows the surface to form a thin skin, preventing condensation and keeping the glossy finish intact. Skipping this step can result in a dull, wet top layer that looks less appetizing.
The Wax Paper Lift
When you lift the set caramel out of the pan, do it slowly and keep the wax paper taut. A sudden pull can cause the slab to crack unevenly. I once yanked too fast and ended up with a jagged edge—still tasty, but not as pretty.
The Double‑Check Sweetness Test
Before adding the whiskey, take a tiny spoonful of the hot caramel and let it cool on the back of your hand. If it’s overly sweet, a pinch more salt can balance it out. This quick taste test saves you from a batch that’s too cloying.
Creative Twists and Variations
This recipe is a playground. Here are some of my favorite ways to switch things up:
Maple‑Bourbon Bliss
Swap the Fireball for an equal amount of bourbon and add 2 tablespoons of pure maple syrup. The result is a caramel with a smoky depth and a sweet, woodsy finish that pairs beautifully with autumn evenings.
Chocolate‑Covered Delight
After the caramels have set, dip each square halfway into melted dark chocolate and let it set on parchment. The bitter chocolate contrasts the sweet, spicy caramel, creating a sophisticated bite.
Nutty Crunch
Stir in ½ cup of toasted pecans or almonds right before pouring the caramel into the pan. The nuts add a satisfying crunch and an extra layer of flavor that makes each bite interesting.
Spicy Chili Kick
Add a pinch of cayenne pepper or a dash of chipotle powder to the caramel before the whiskey. This gives a subtle heat that lingers longer than the cinnamon, perfect for those who love a serious spice hit.
Salted Caramel Swirl
Create a swirl by drizzling a thin line of sea‑salt caramel (made with extra salt and a splash of cream) across the top before chilling. The salty ribbons make the flavor profile more complex and visually striking.
Storing and Bringing It Back to Life
Fridge Storage
Place the wrapped caramels in an airtight container and store them in the refrigerator for up to two weeks. The cool environment keeps the butter from turning greasy and preserves the whiskey’s spice. If you notice any hardening, let them sit at room temperature for 10 minutes before serving.
Freezer Friendly
For longer storage, arrange the caramels on a parchment‑lined tray and freeze them for up to three months. Transfer the frozen pieces to a zip‑top bag to prevent freezer burn. When you’re ready to indulge, let them thaw in the fridge overnight; a quick microwave burst (5 seconds) will restore that melt‑in‑your‑mouth texture.
Best Reheating Method
If your caramels have hardened too much, place them in a microwave‑safe dish, add a tiny splash of water (about a teaspoon), and heat for 10‑15 seconds. The steam generated revives the caramel’s softness without diluting the flavor. Stir gently after heating to ensure an even texture before serving.